Haley’s Angel Wings

“A Celebration of Her Beautiful Life”

About 18 months ago I wrote a memorial for my granddaughter, Haley. It has been a long time of often inconsolable grief, a dance of sorrow and joy, and often pain and pure love for the entire family. Today I am sharing the way in which I spent these months. I designed and created a set of Angel Wings to celebrate her life using my favorite needlework technique…French Boutis. It is very exciting to share this with everyone who has lost someone special or who knows someone in need of a lovely celebration of a life well lived and a way to keep the memories in their hearts. The pattern for this can be found on my Etsy page.

This is a digital pattern and includes two angel wing patterns, one traditional and one art deco, instructions and more photos.

For those who are not interested in Boutis Needlework, this pattern can also be used for embroidery or even quilting with a thin layer of batting between the two layers of fabric and stitched by hand or machine.

For every pattern purchased a donation of $5 will be made to the Danada Veterinary Hospital in Wheaton, Illinois, where Haley worked for many years. She was studying to become a veterinarian at the University of Tennessee.

Please visit my Etsy page and participate in a celebration of life for someone you love.

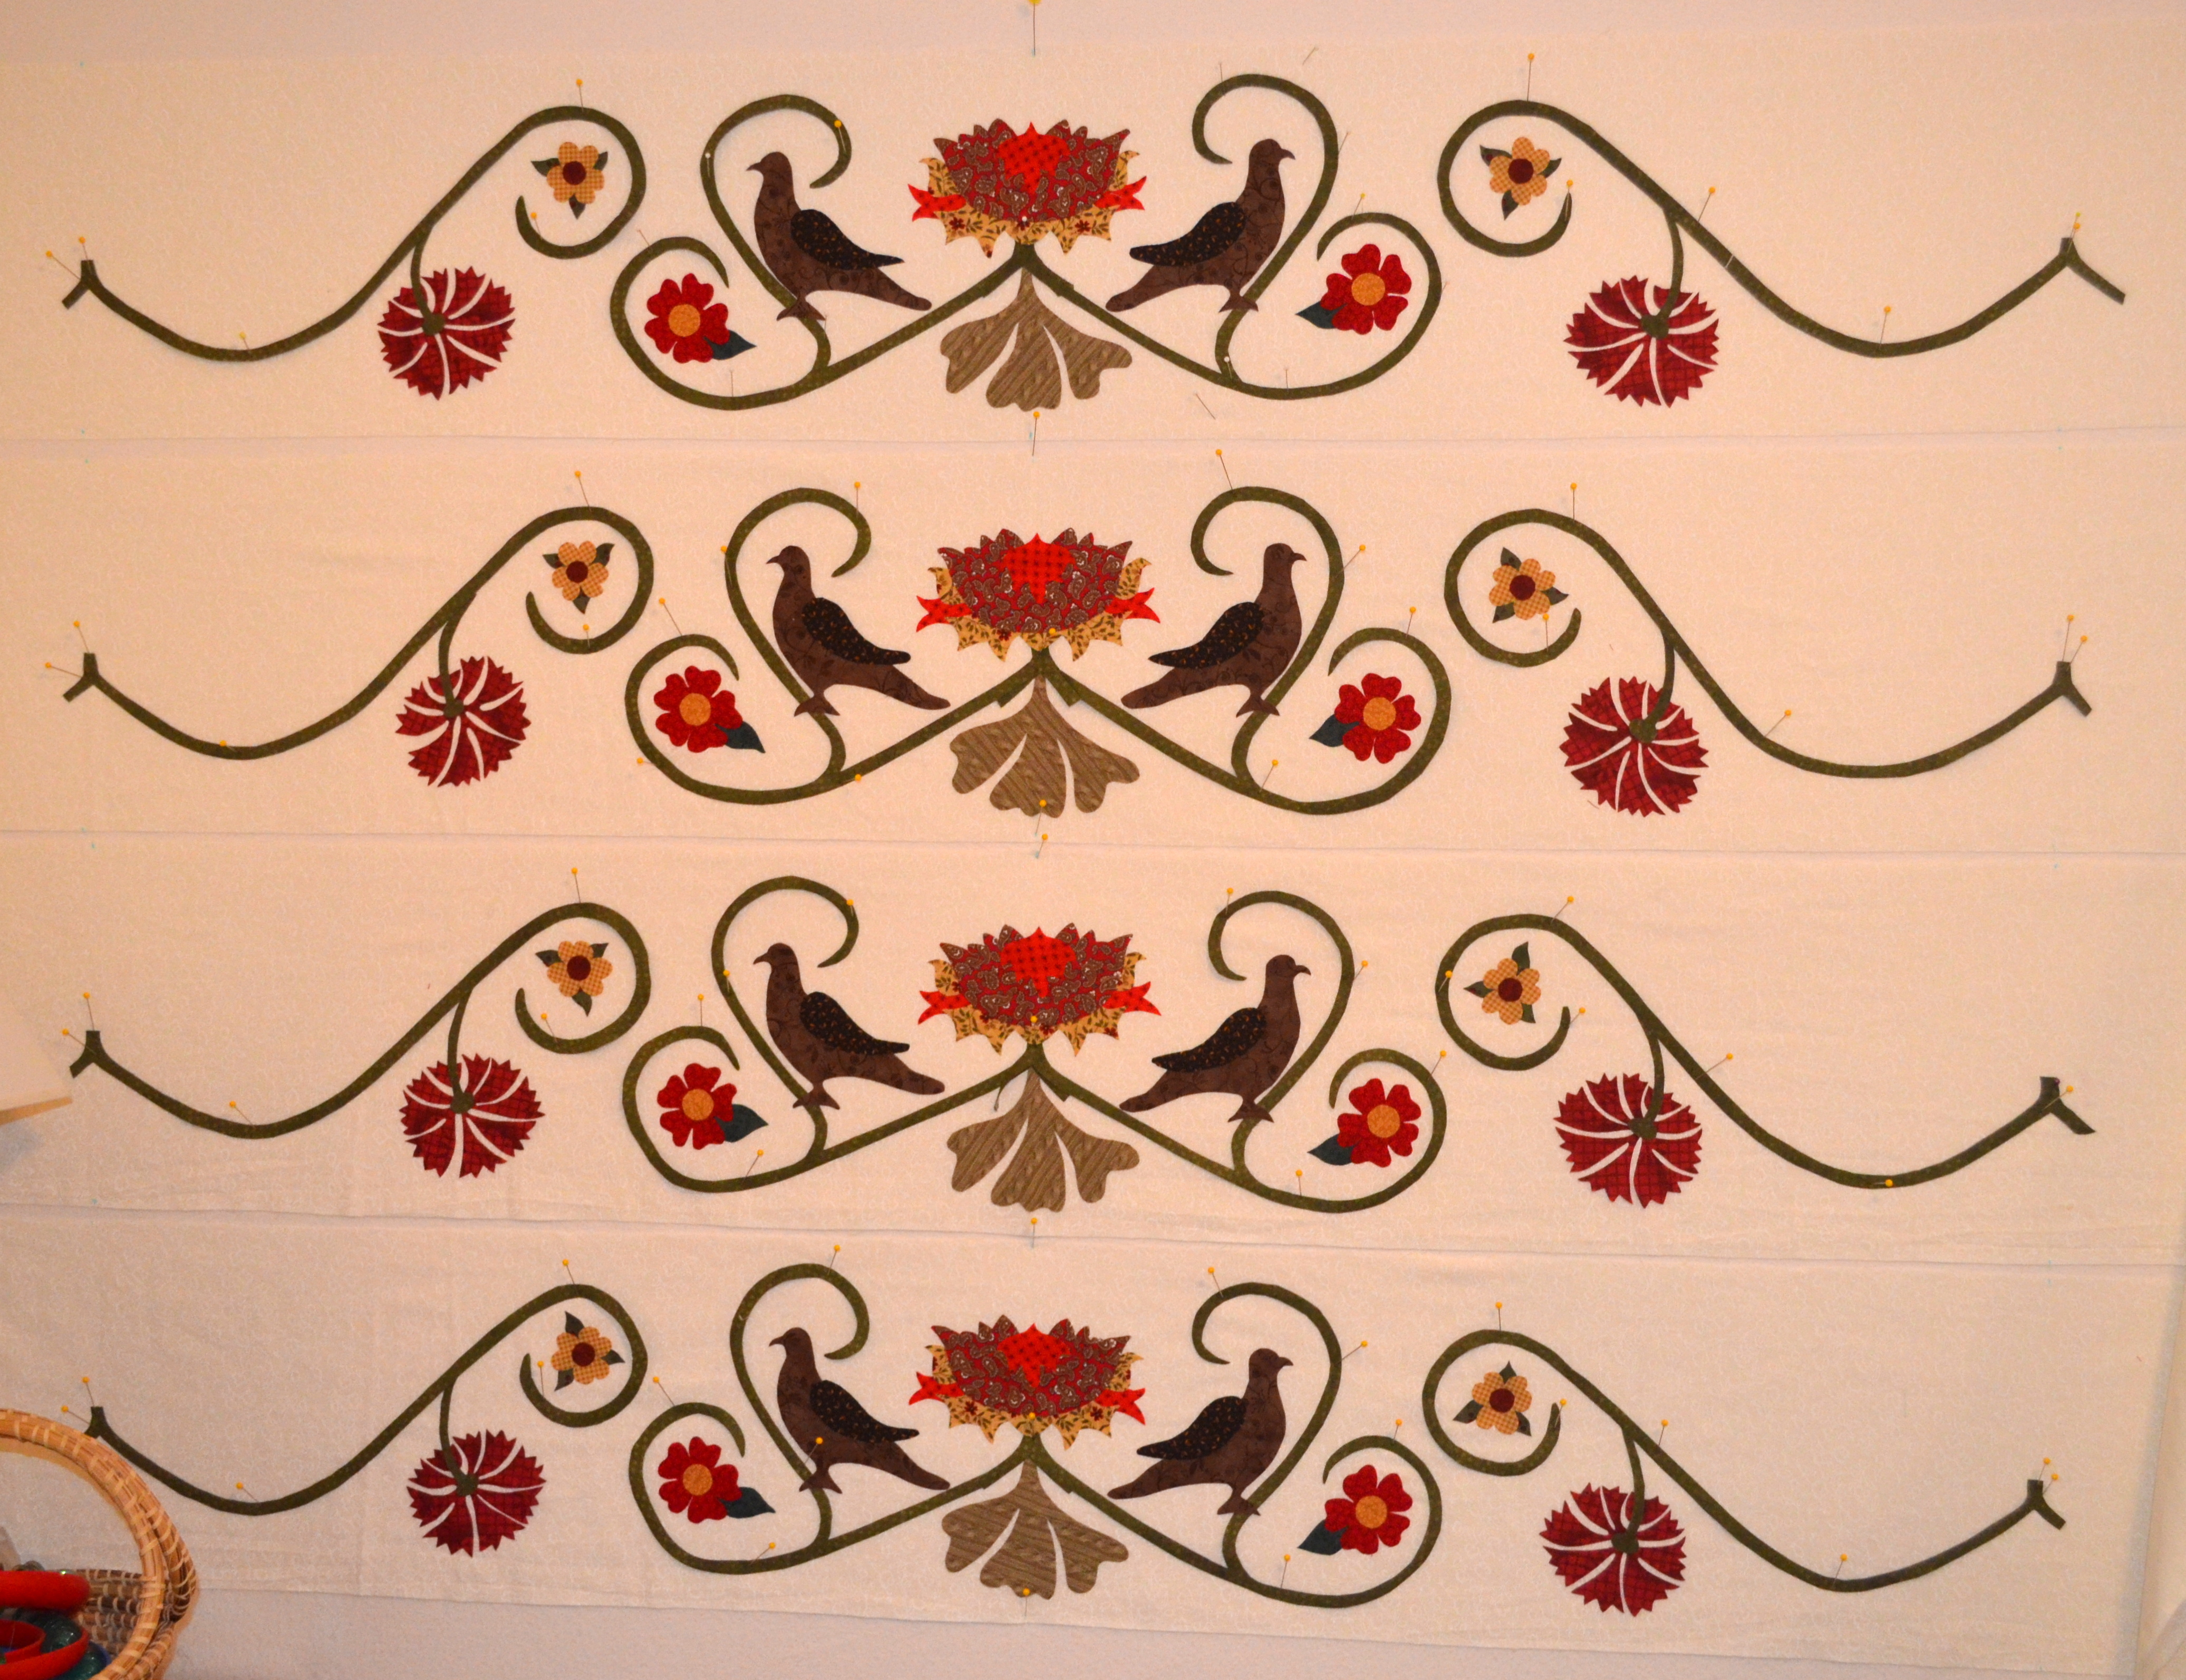
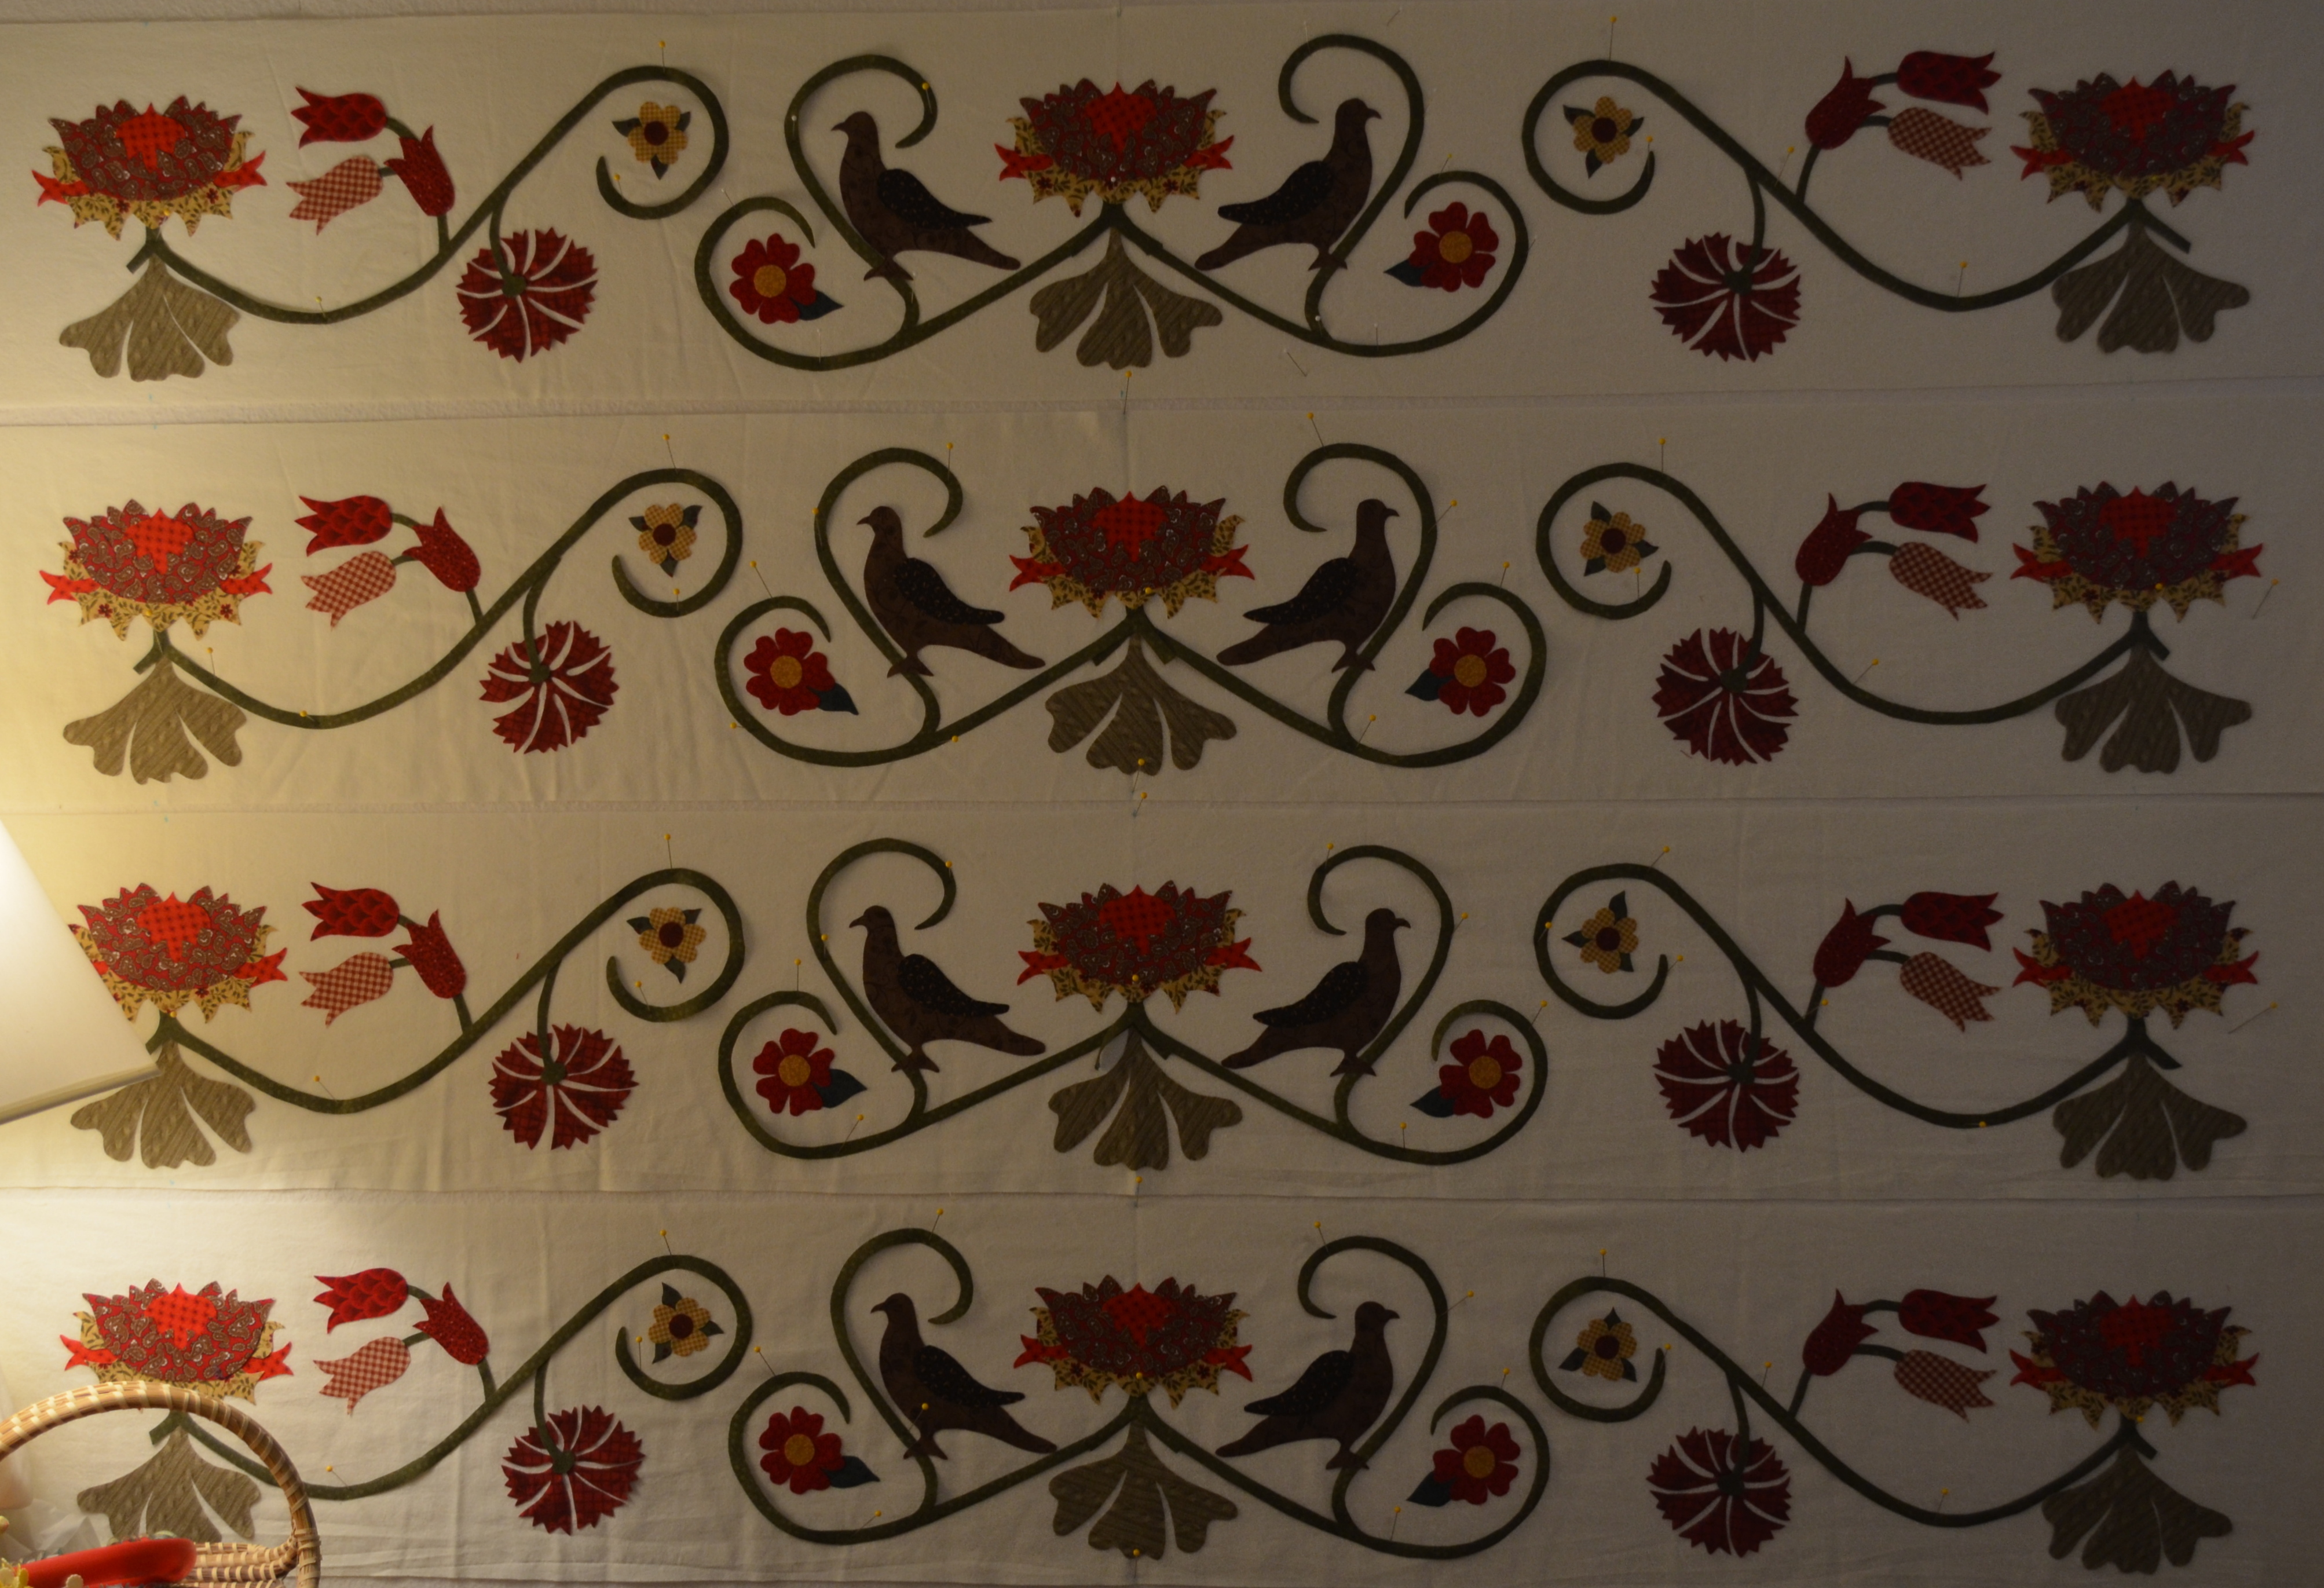
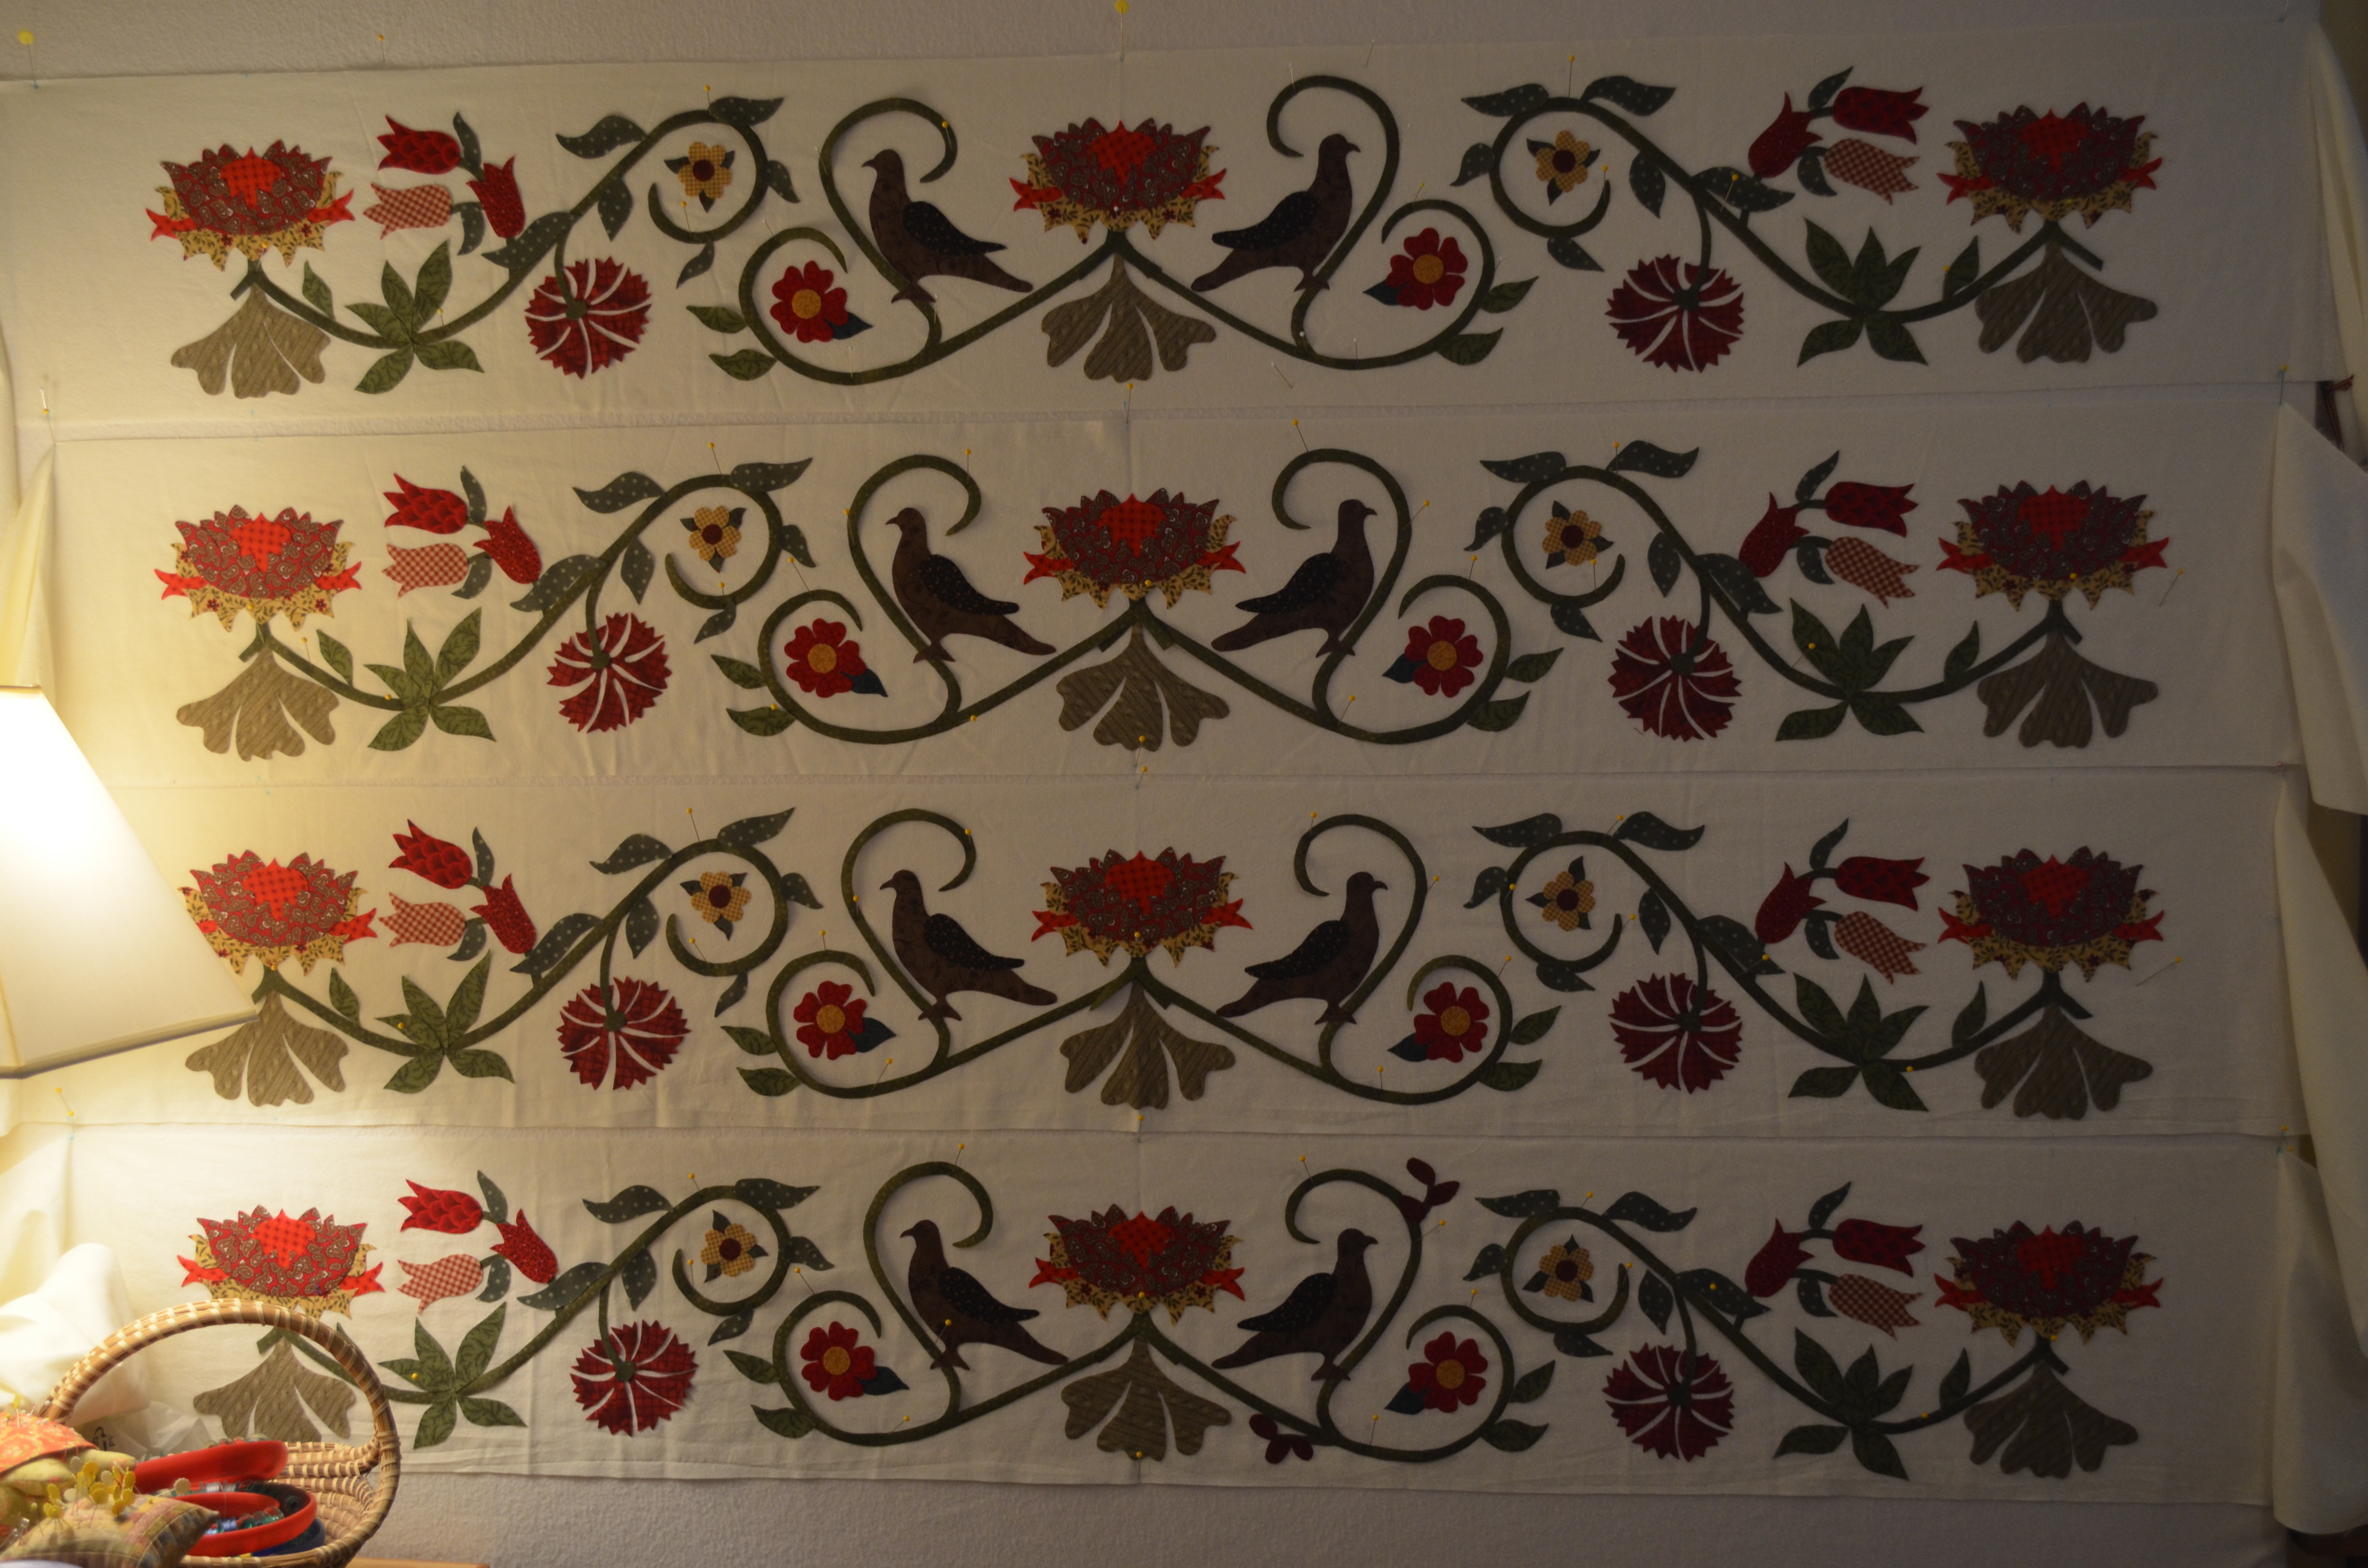
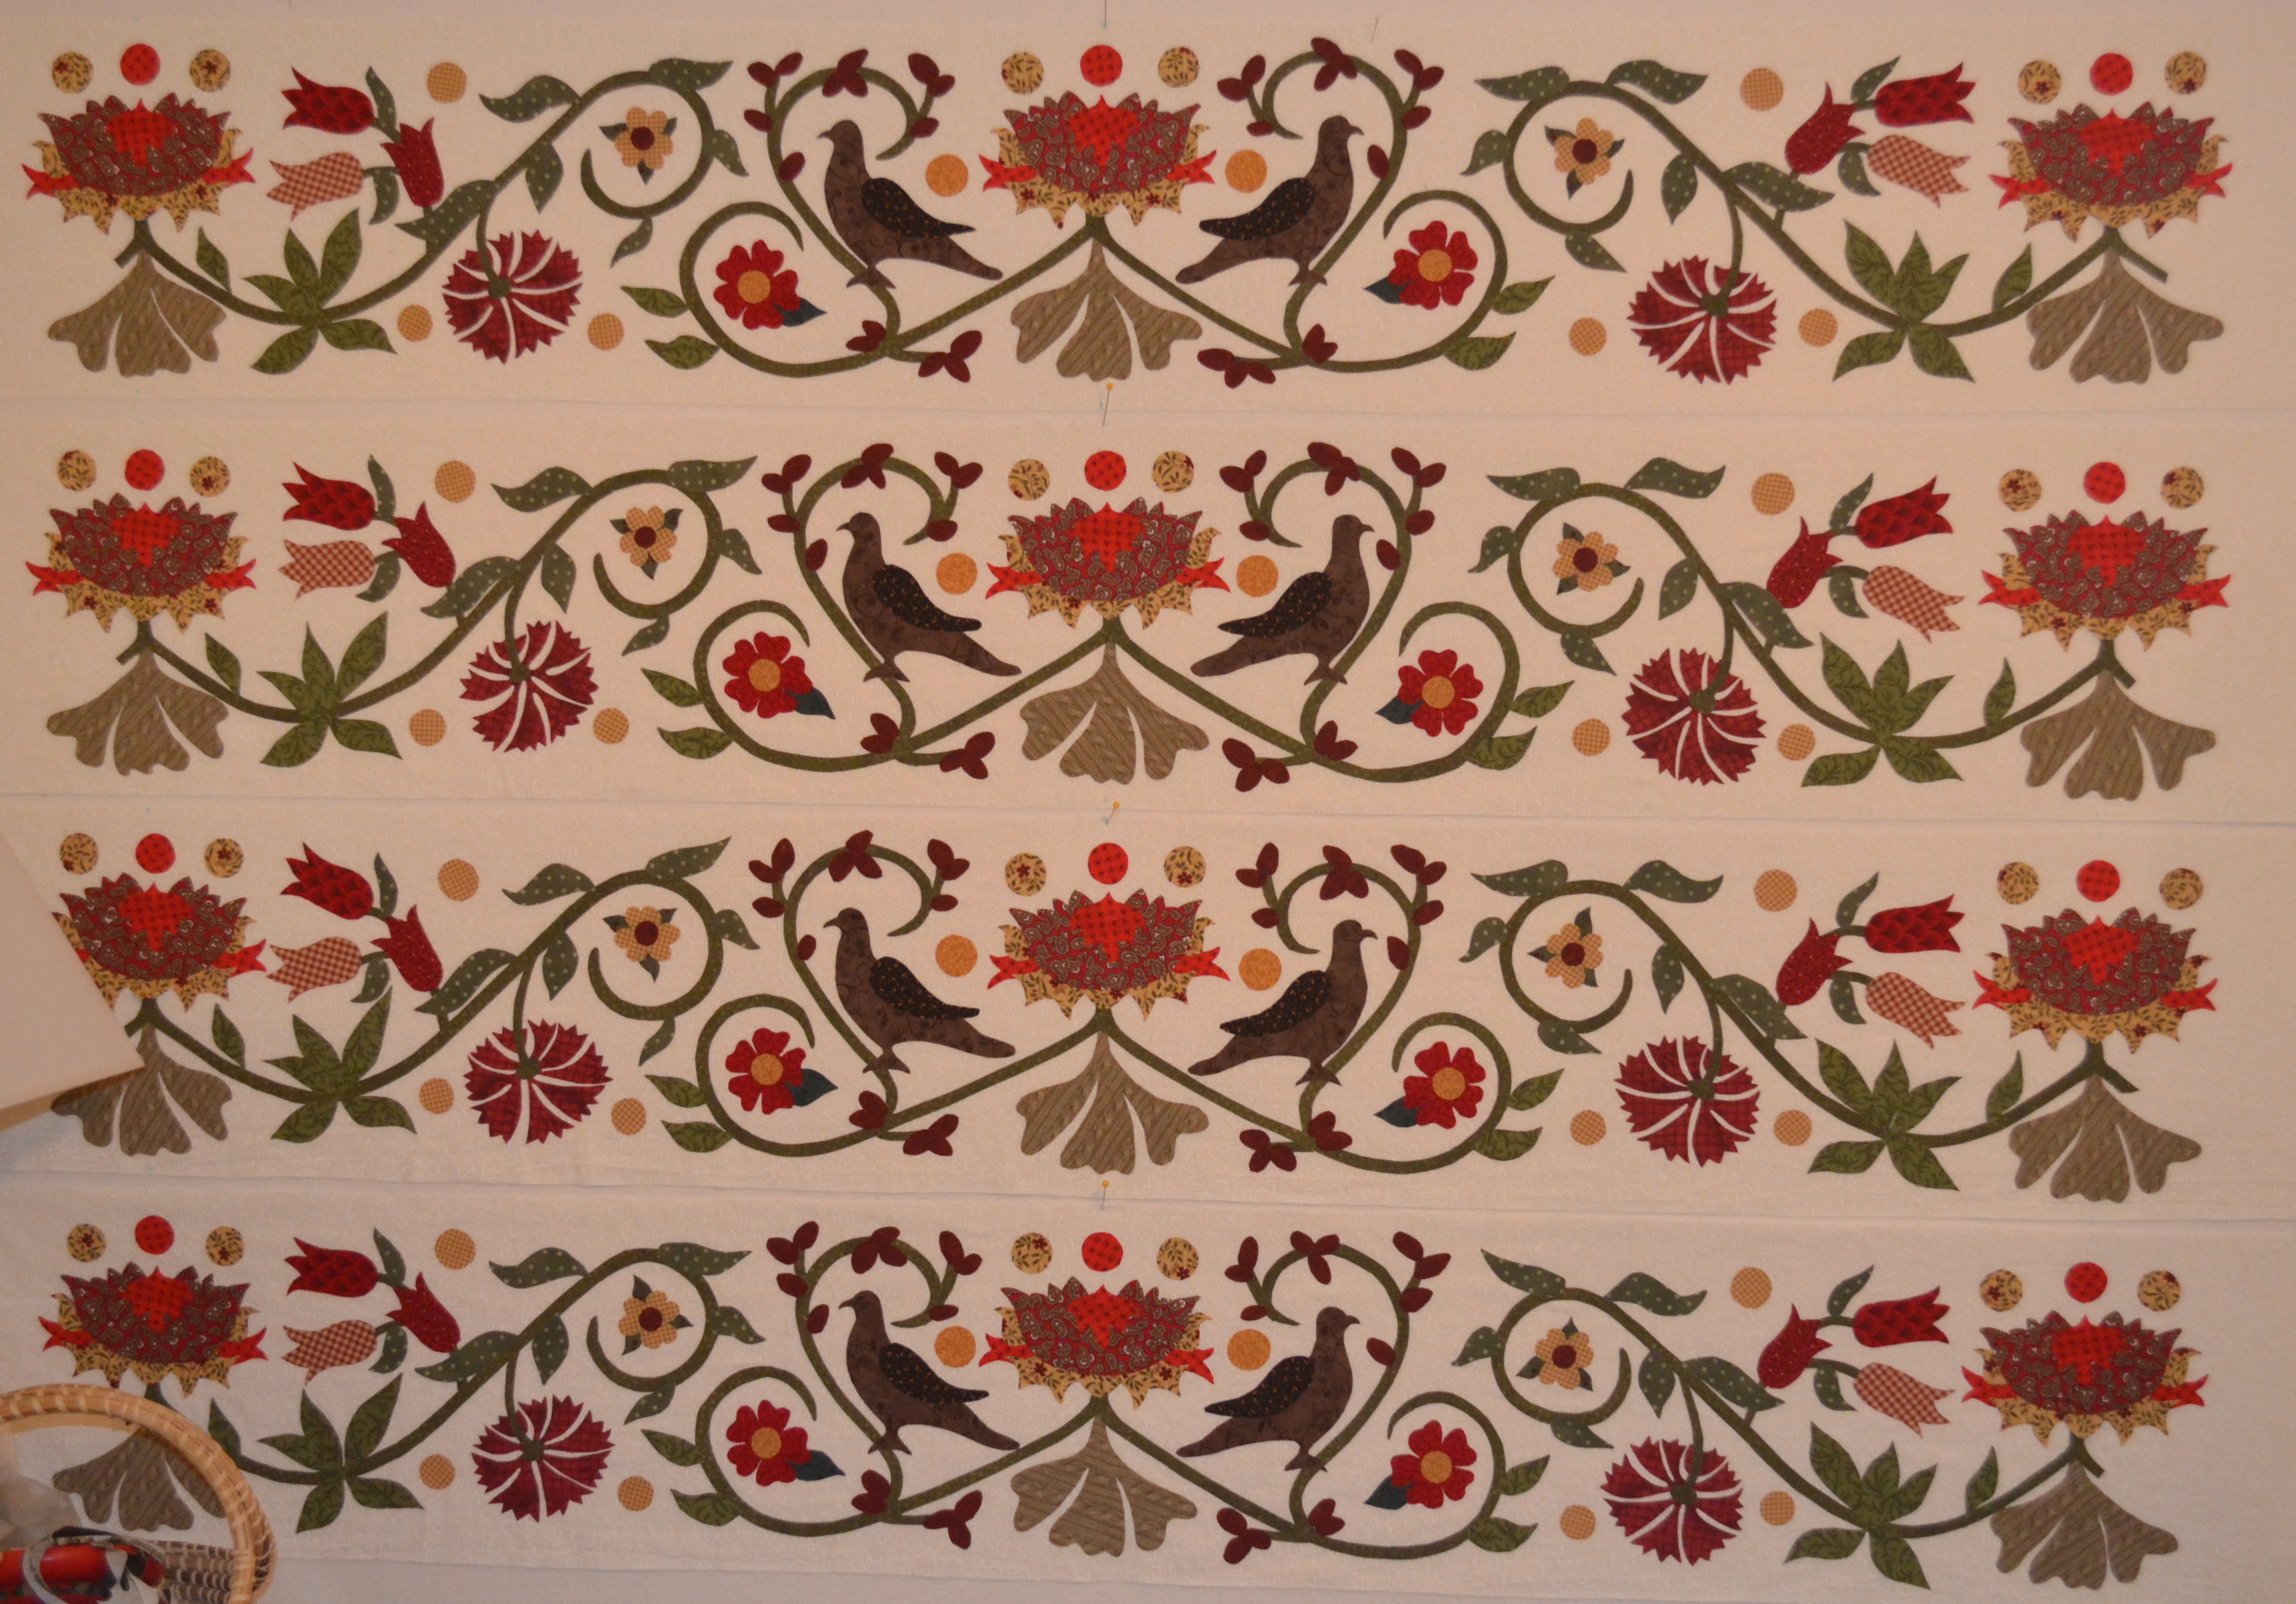
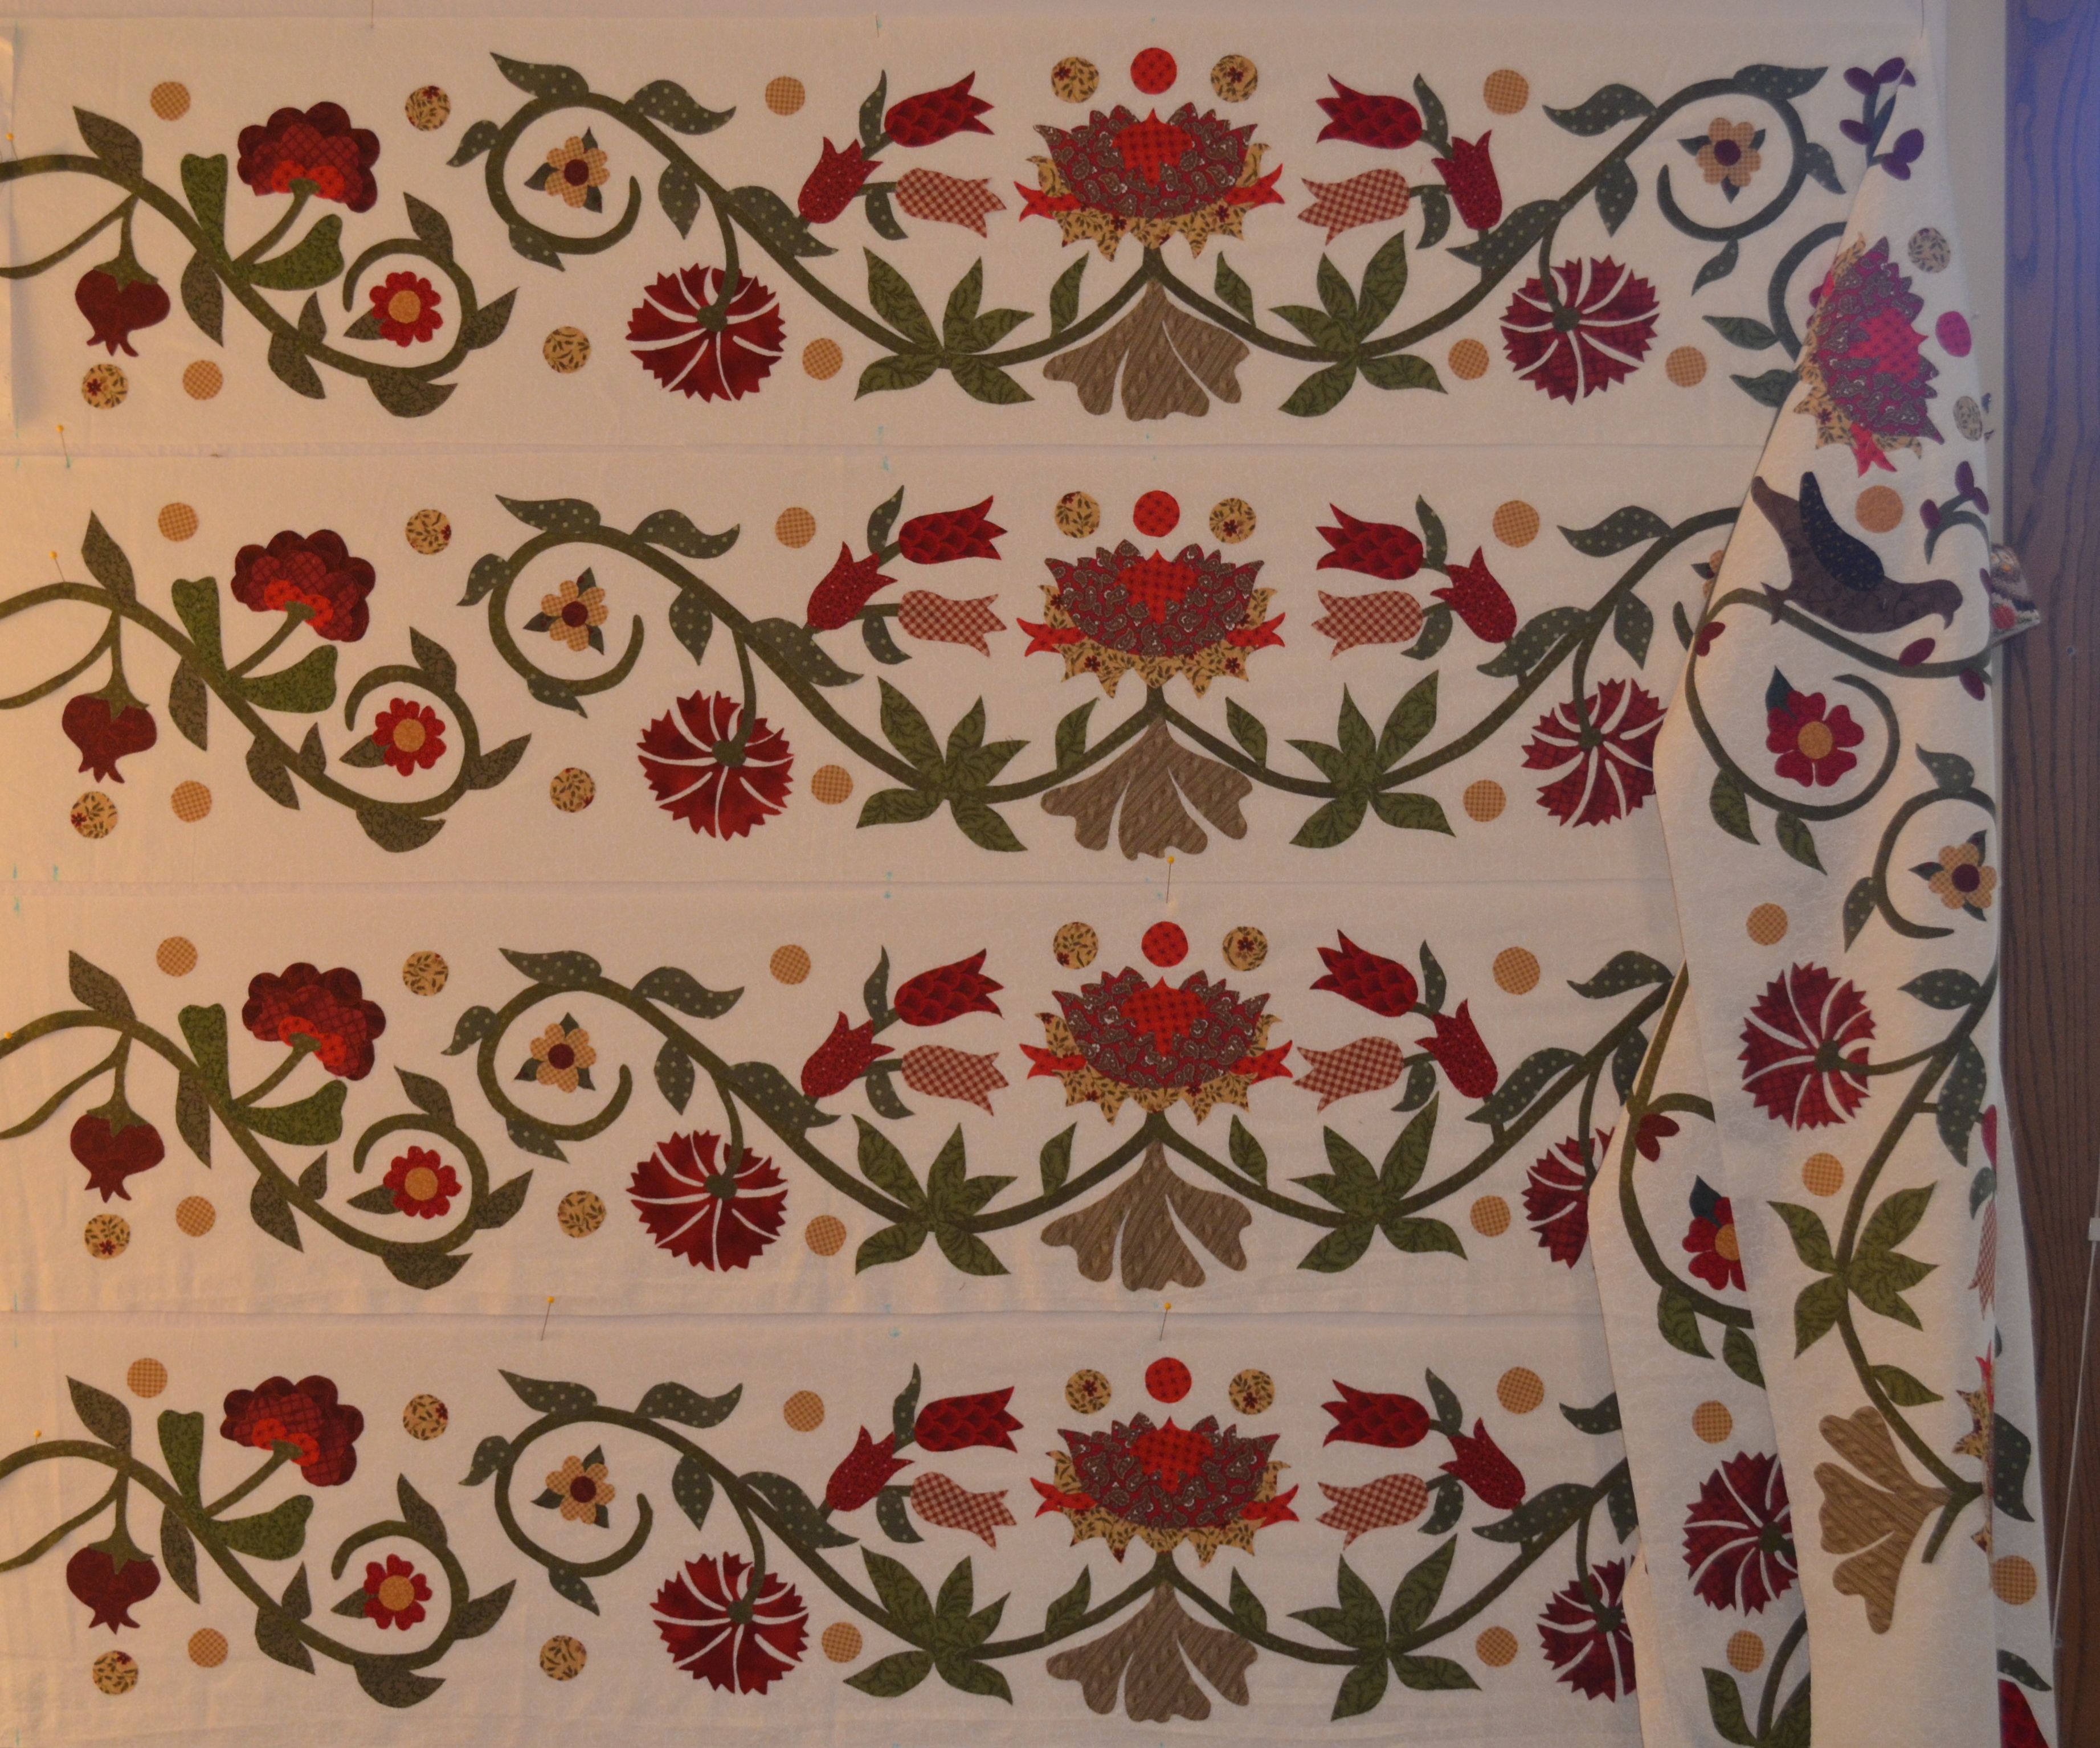
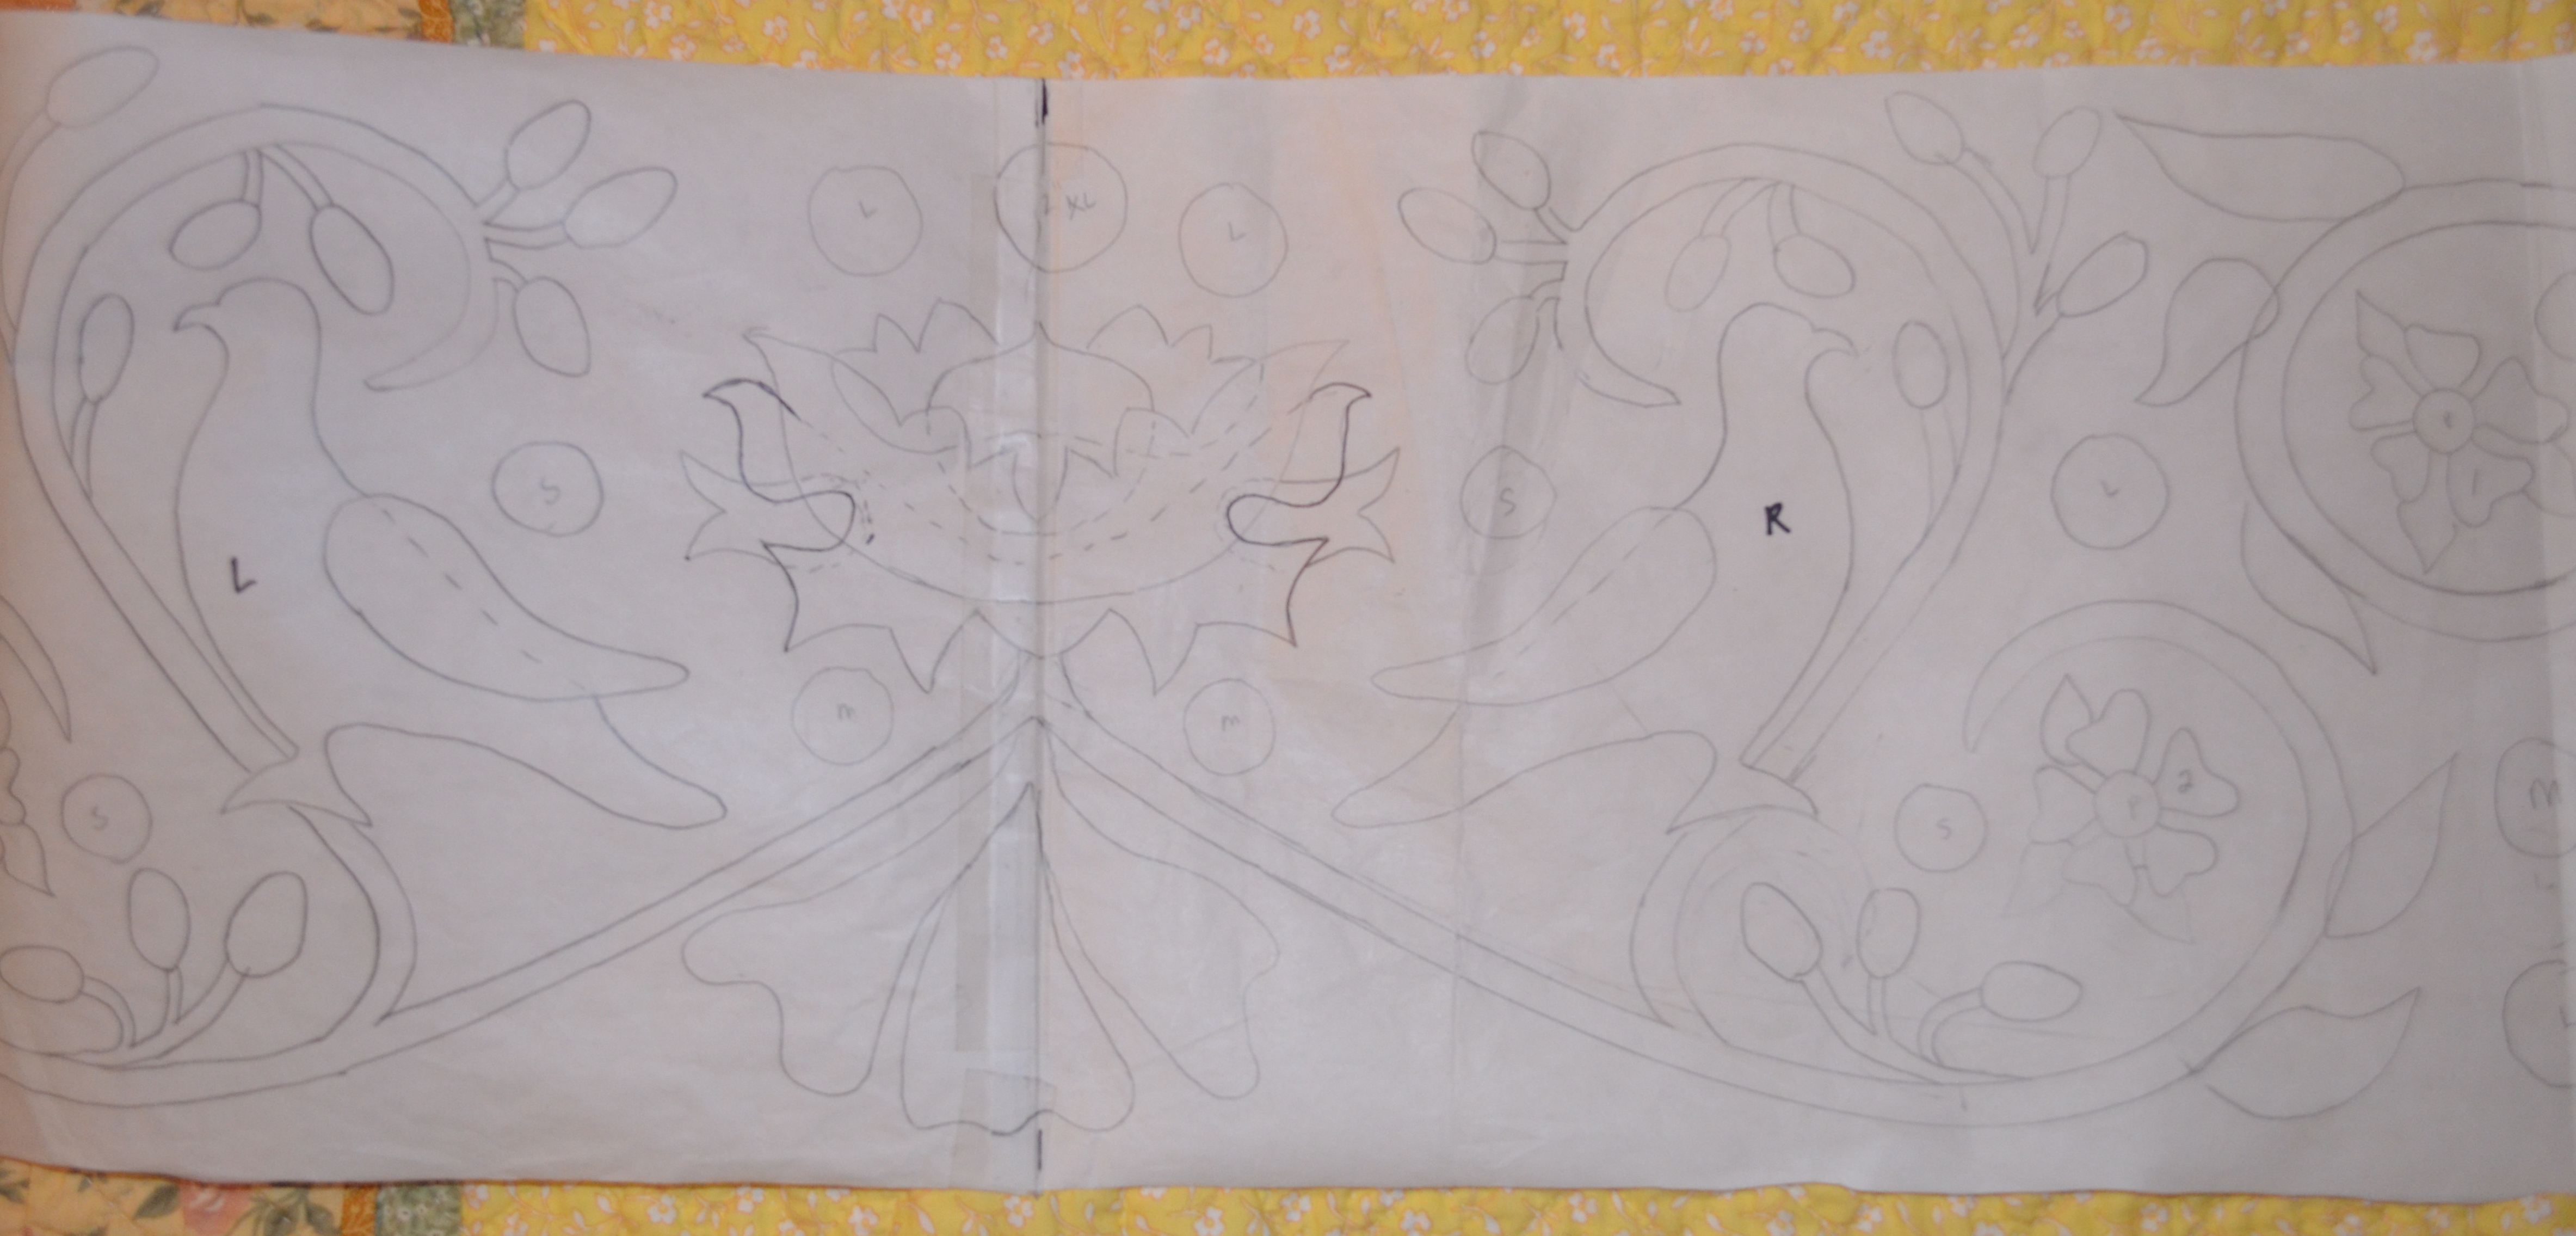
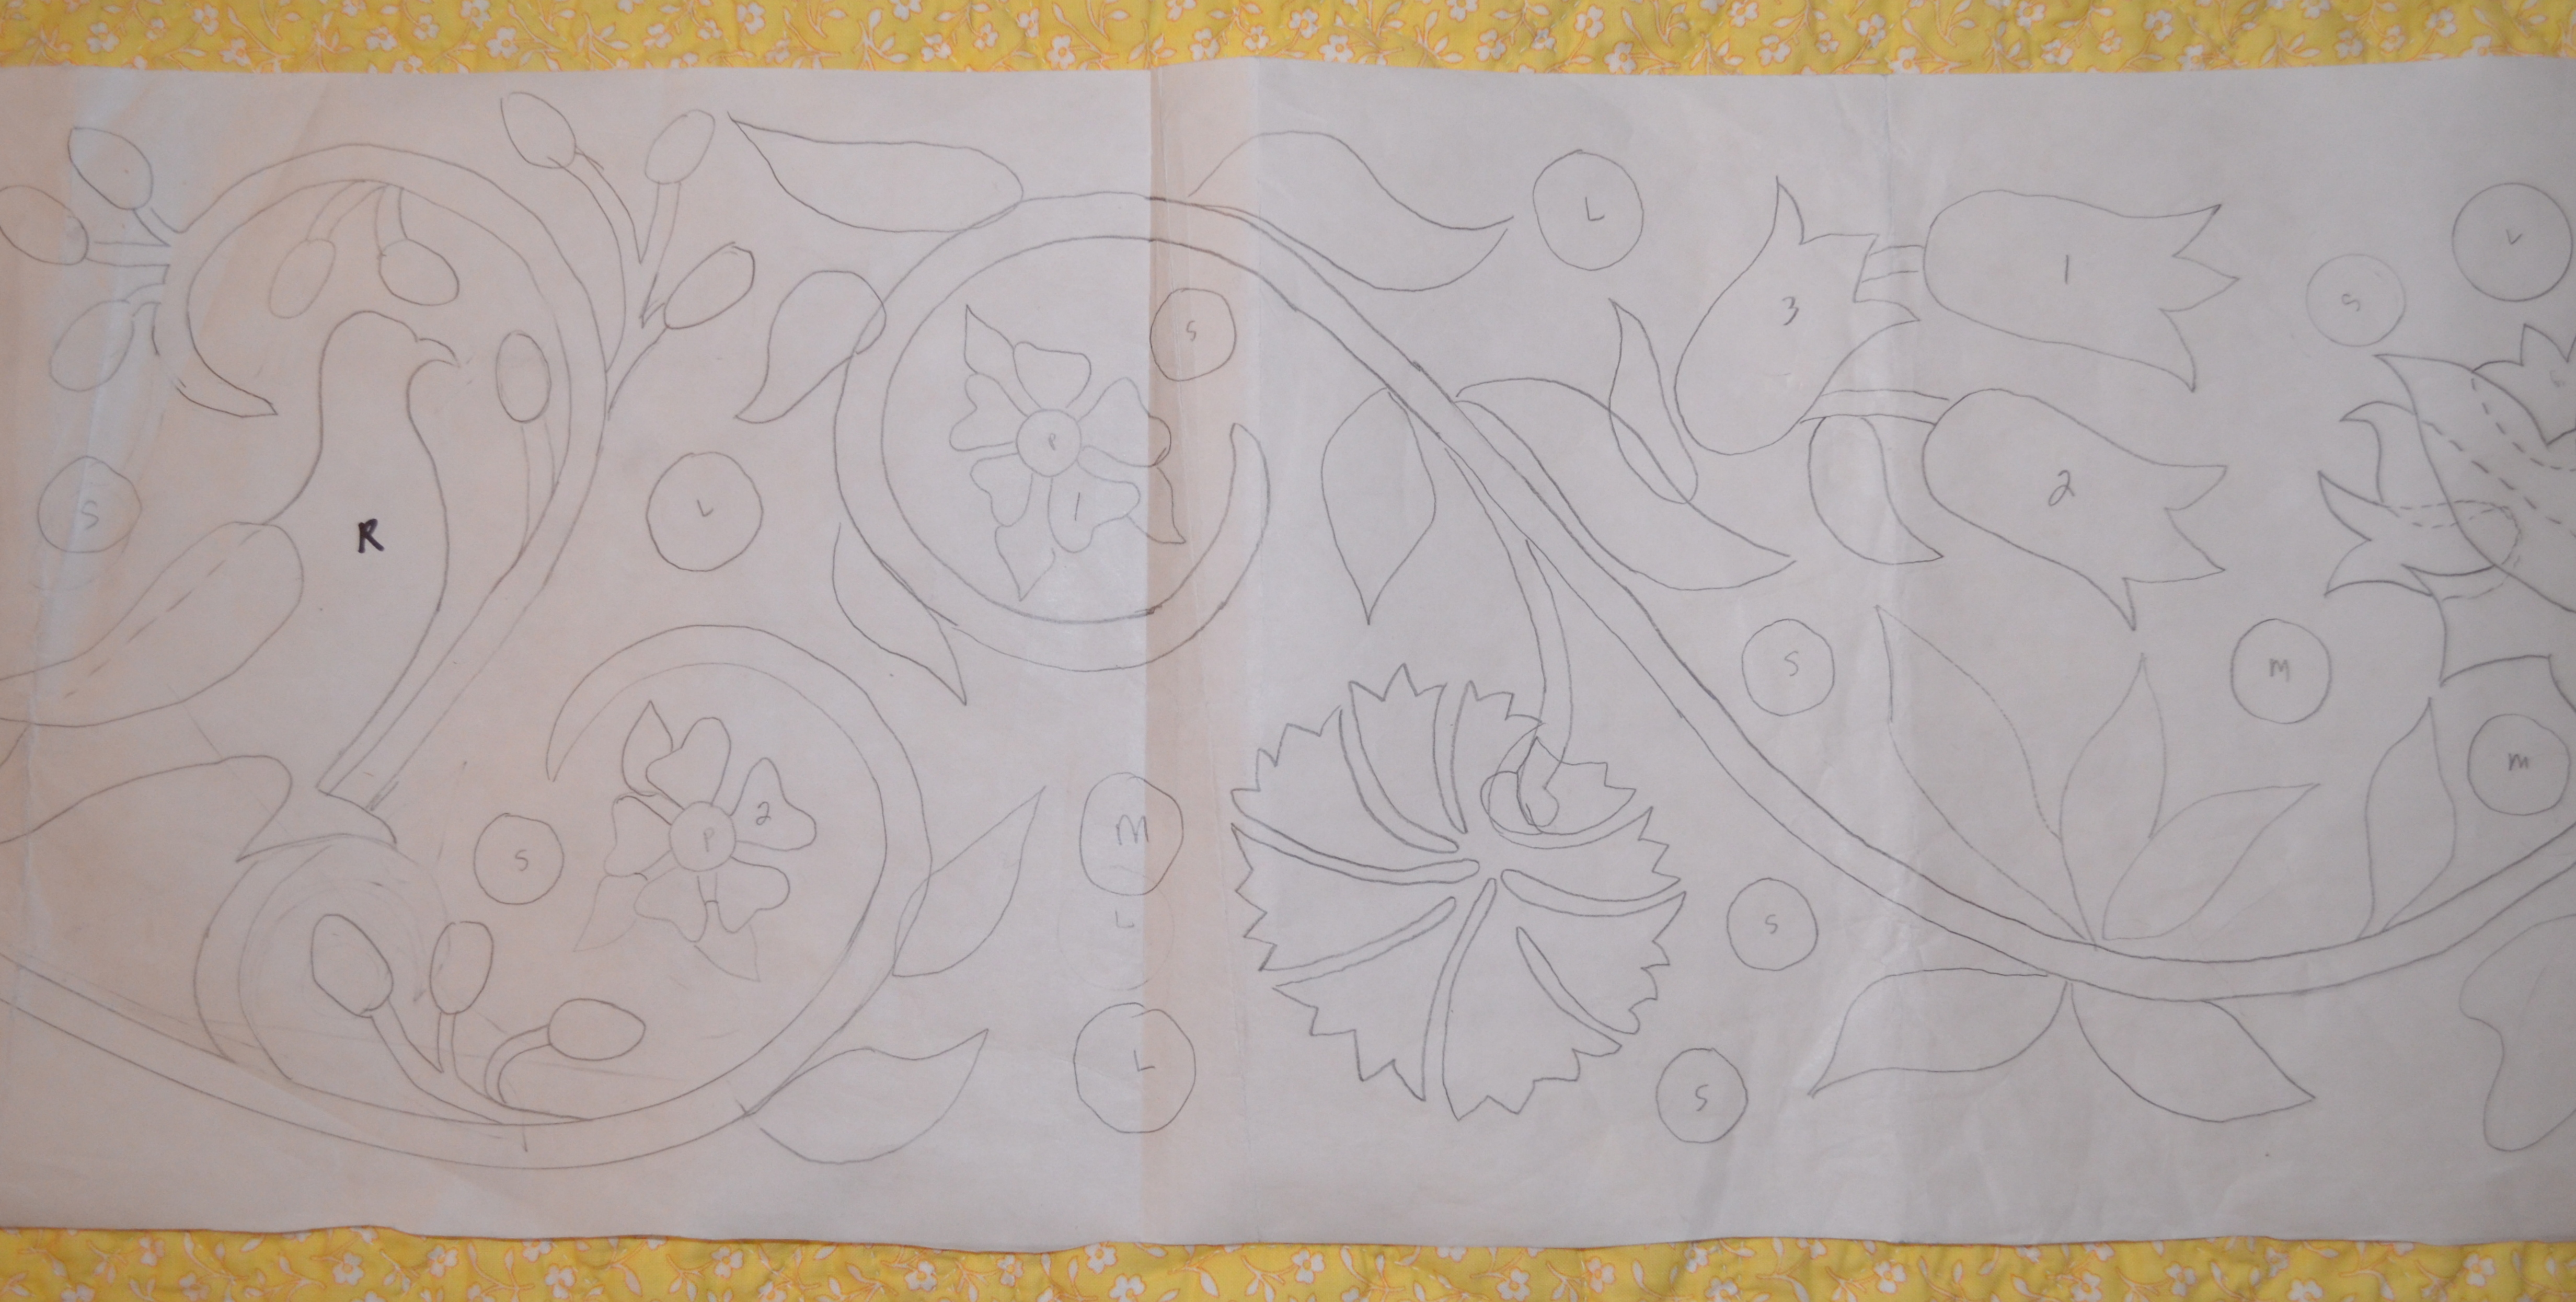
Another way I have spent my days was to create a quilt in her memory.

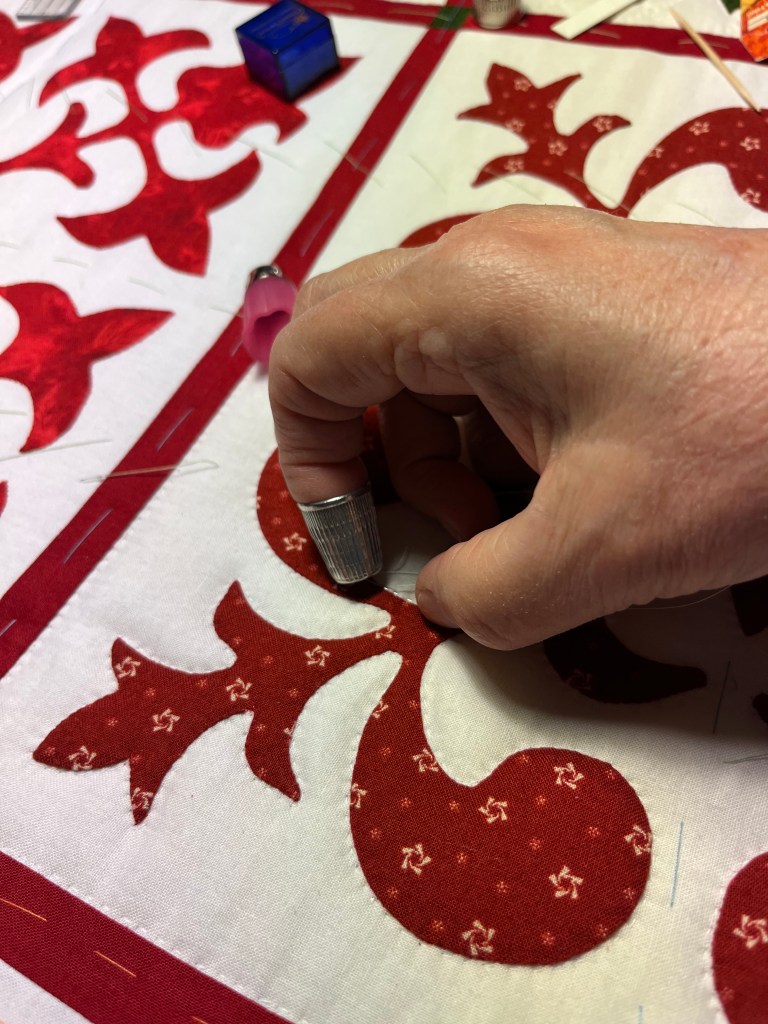
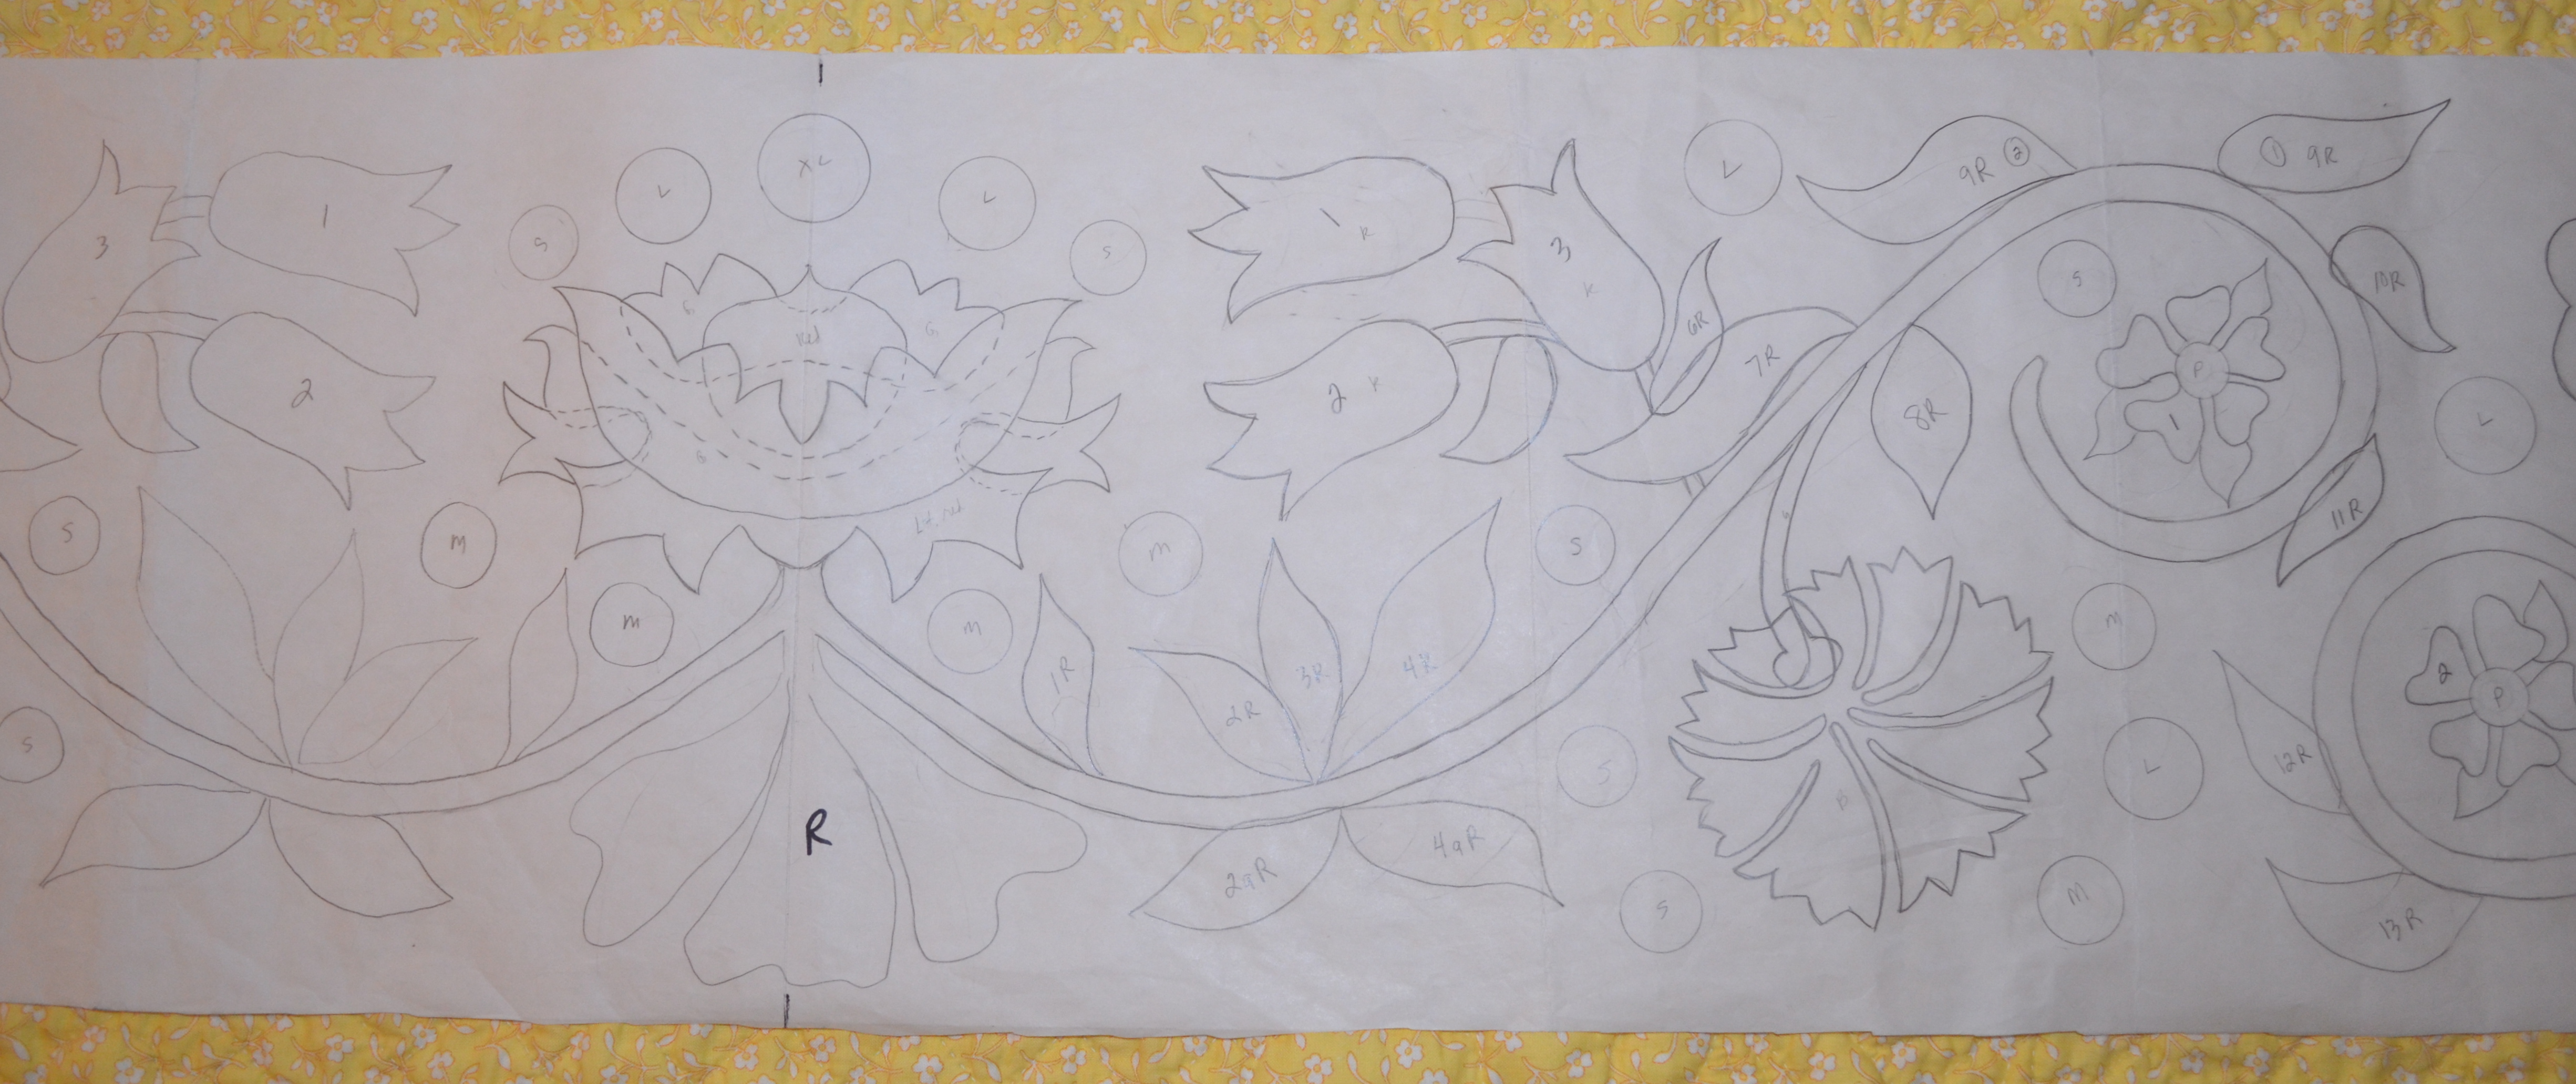
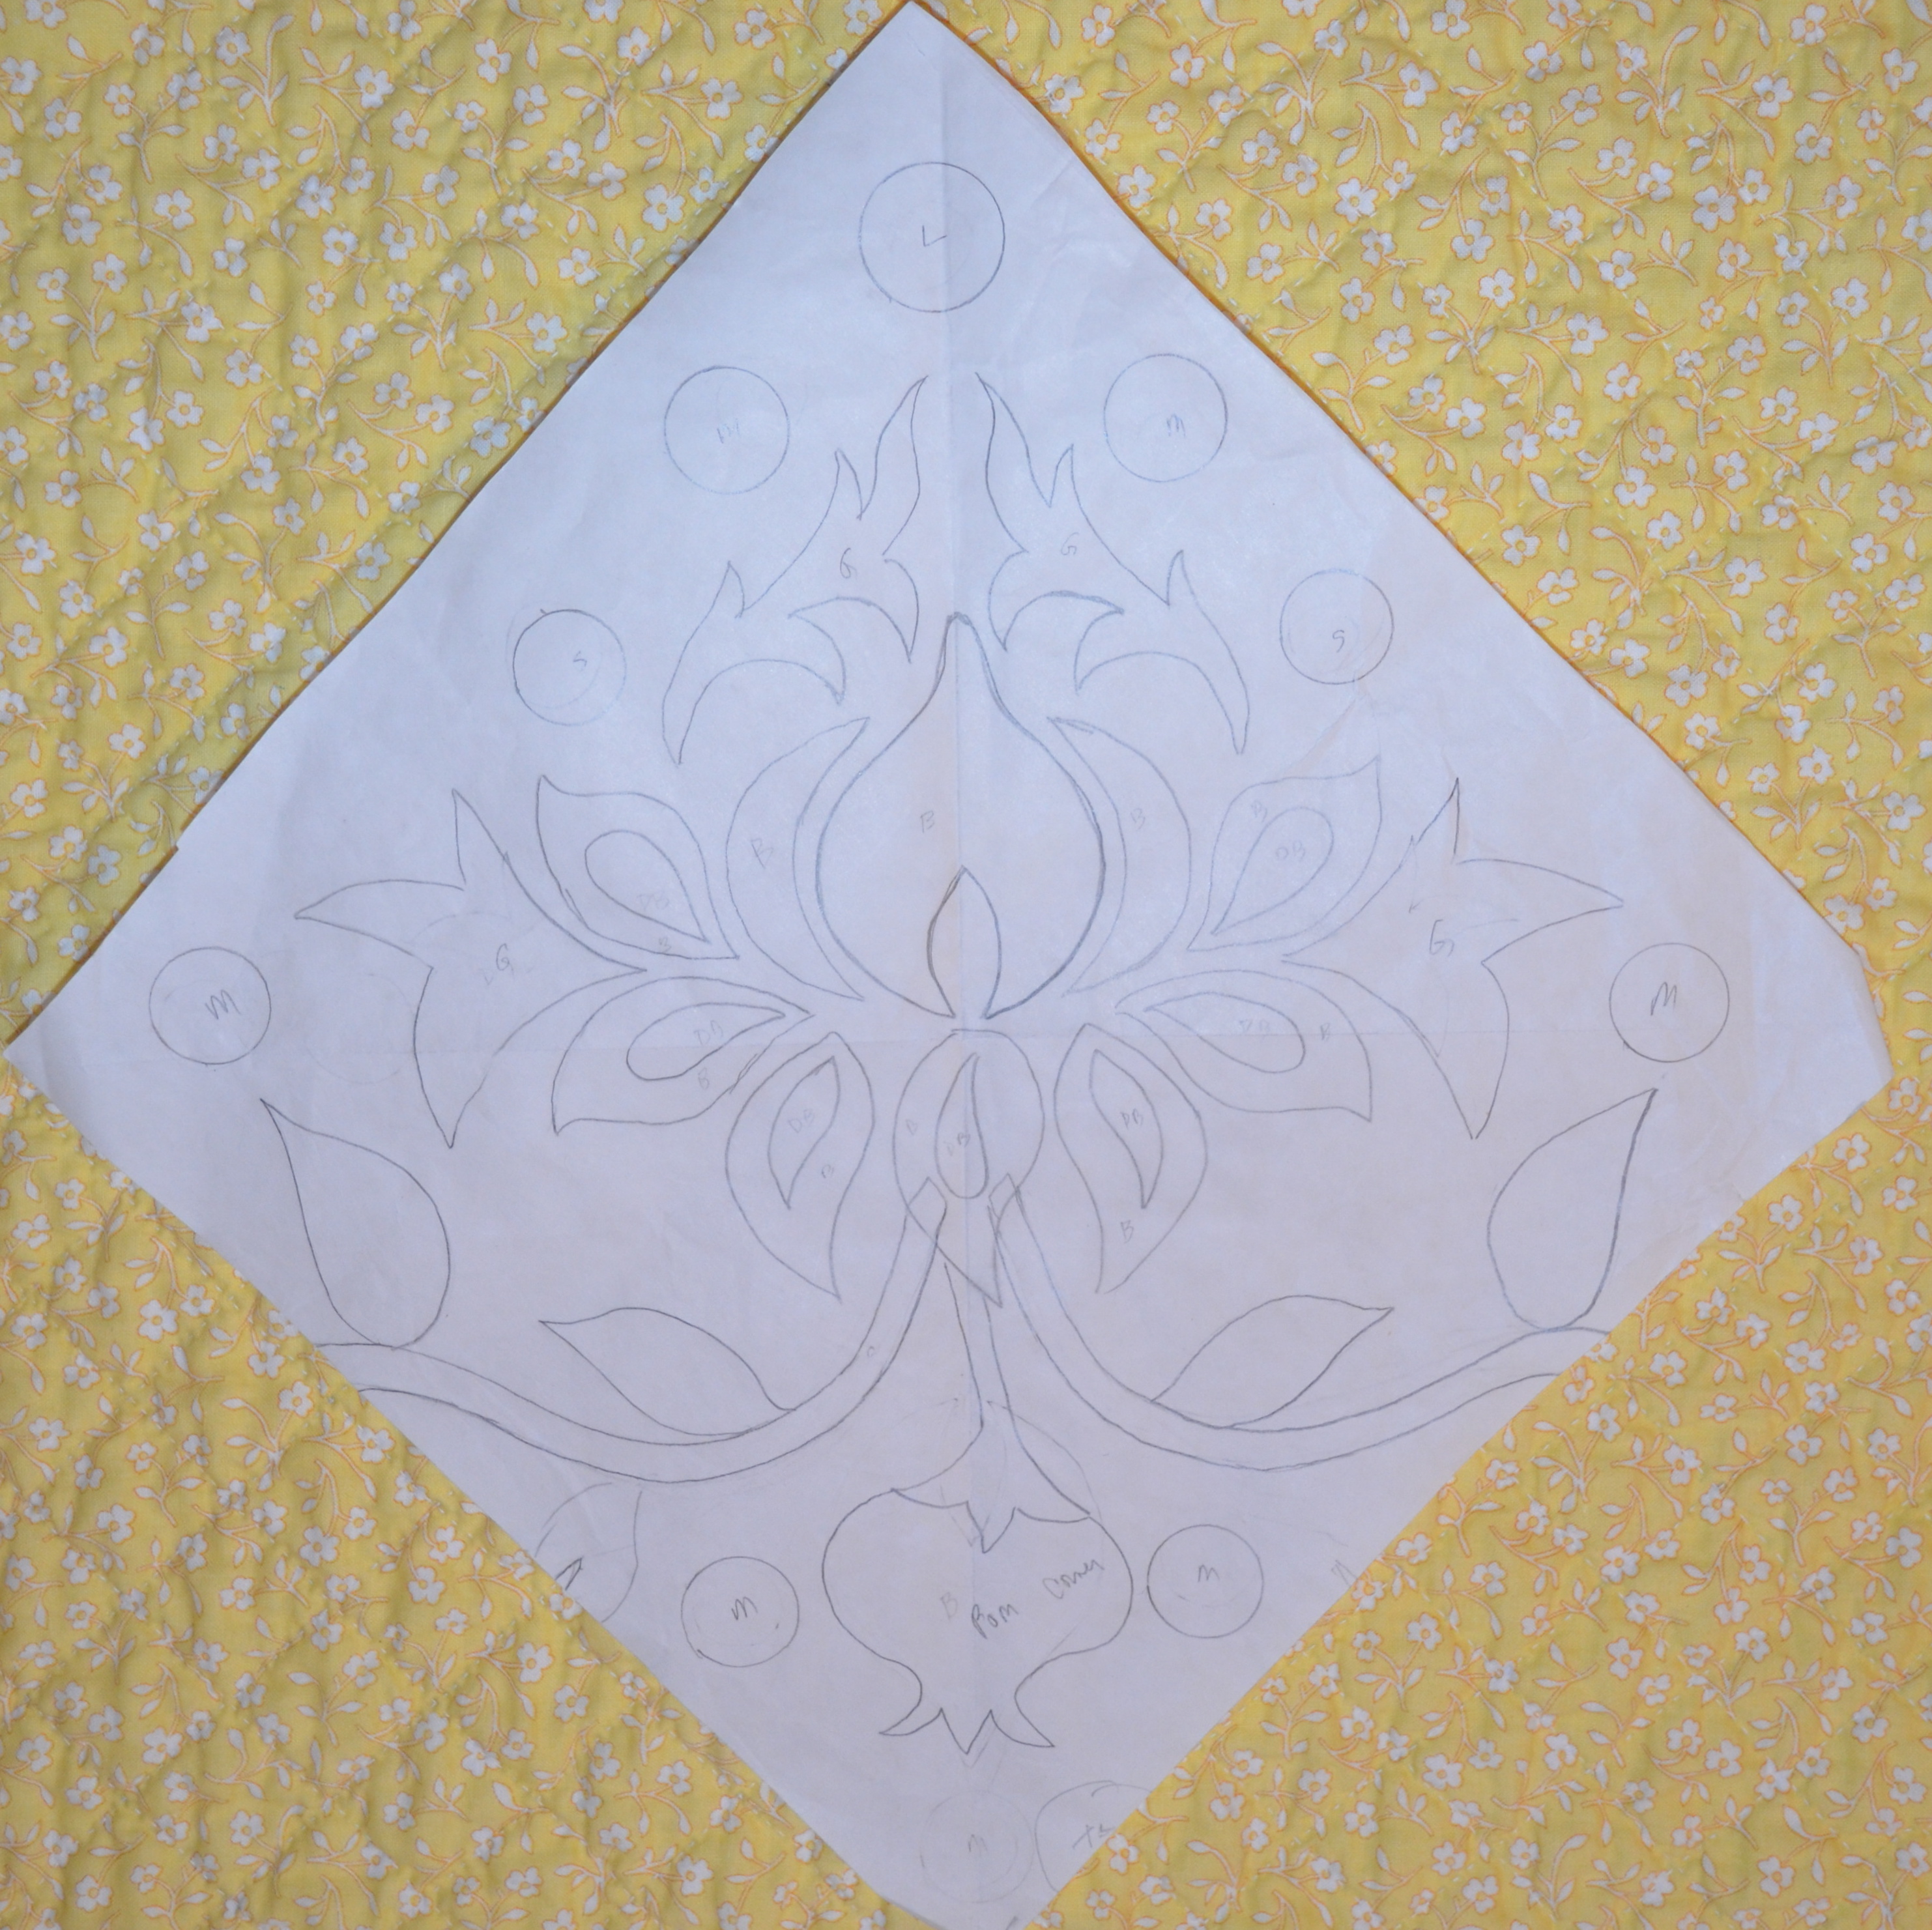
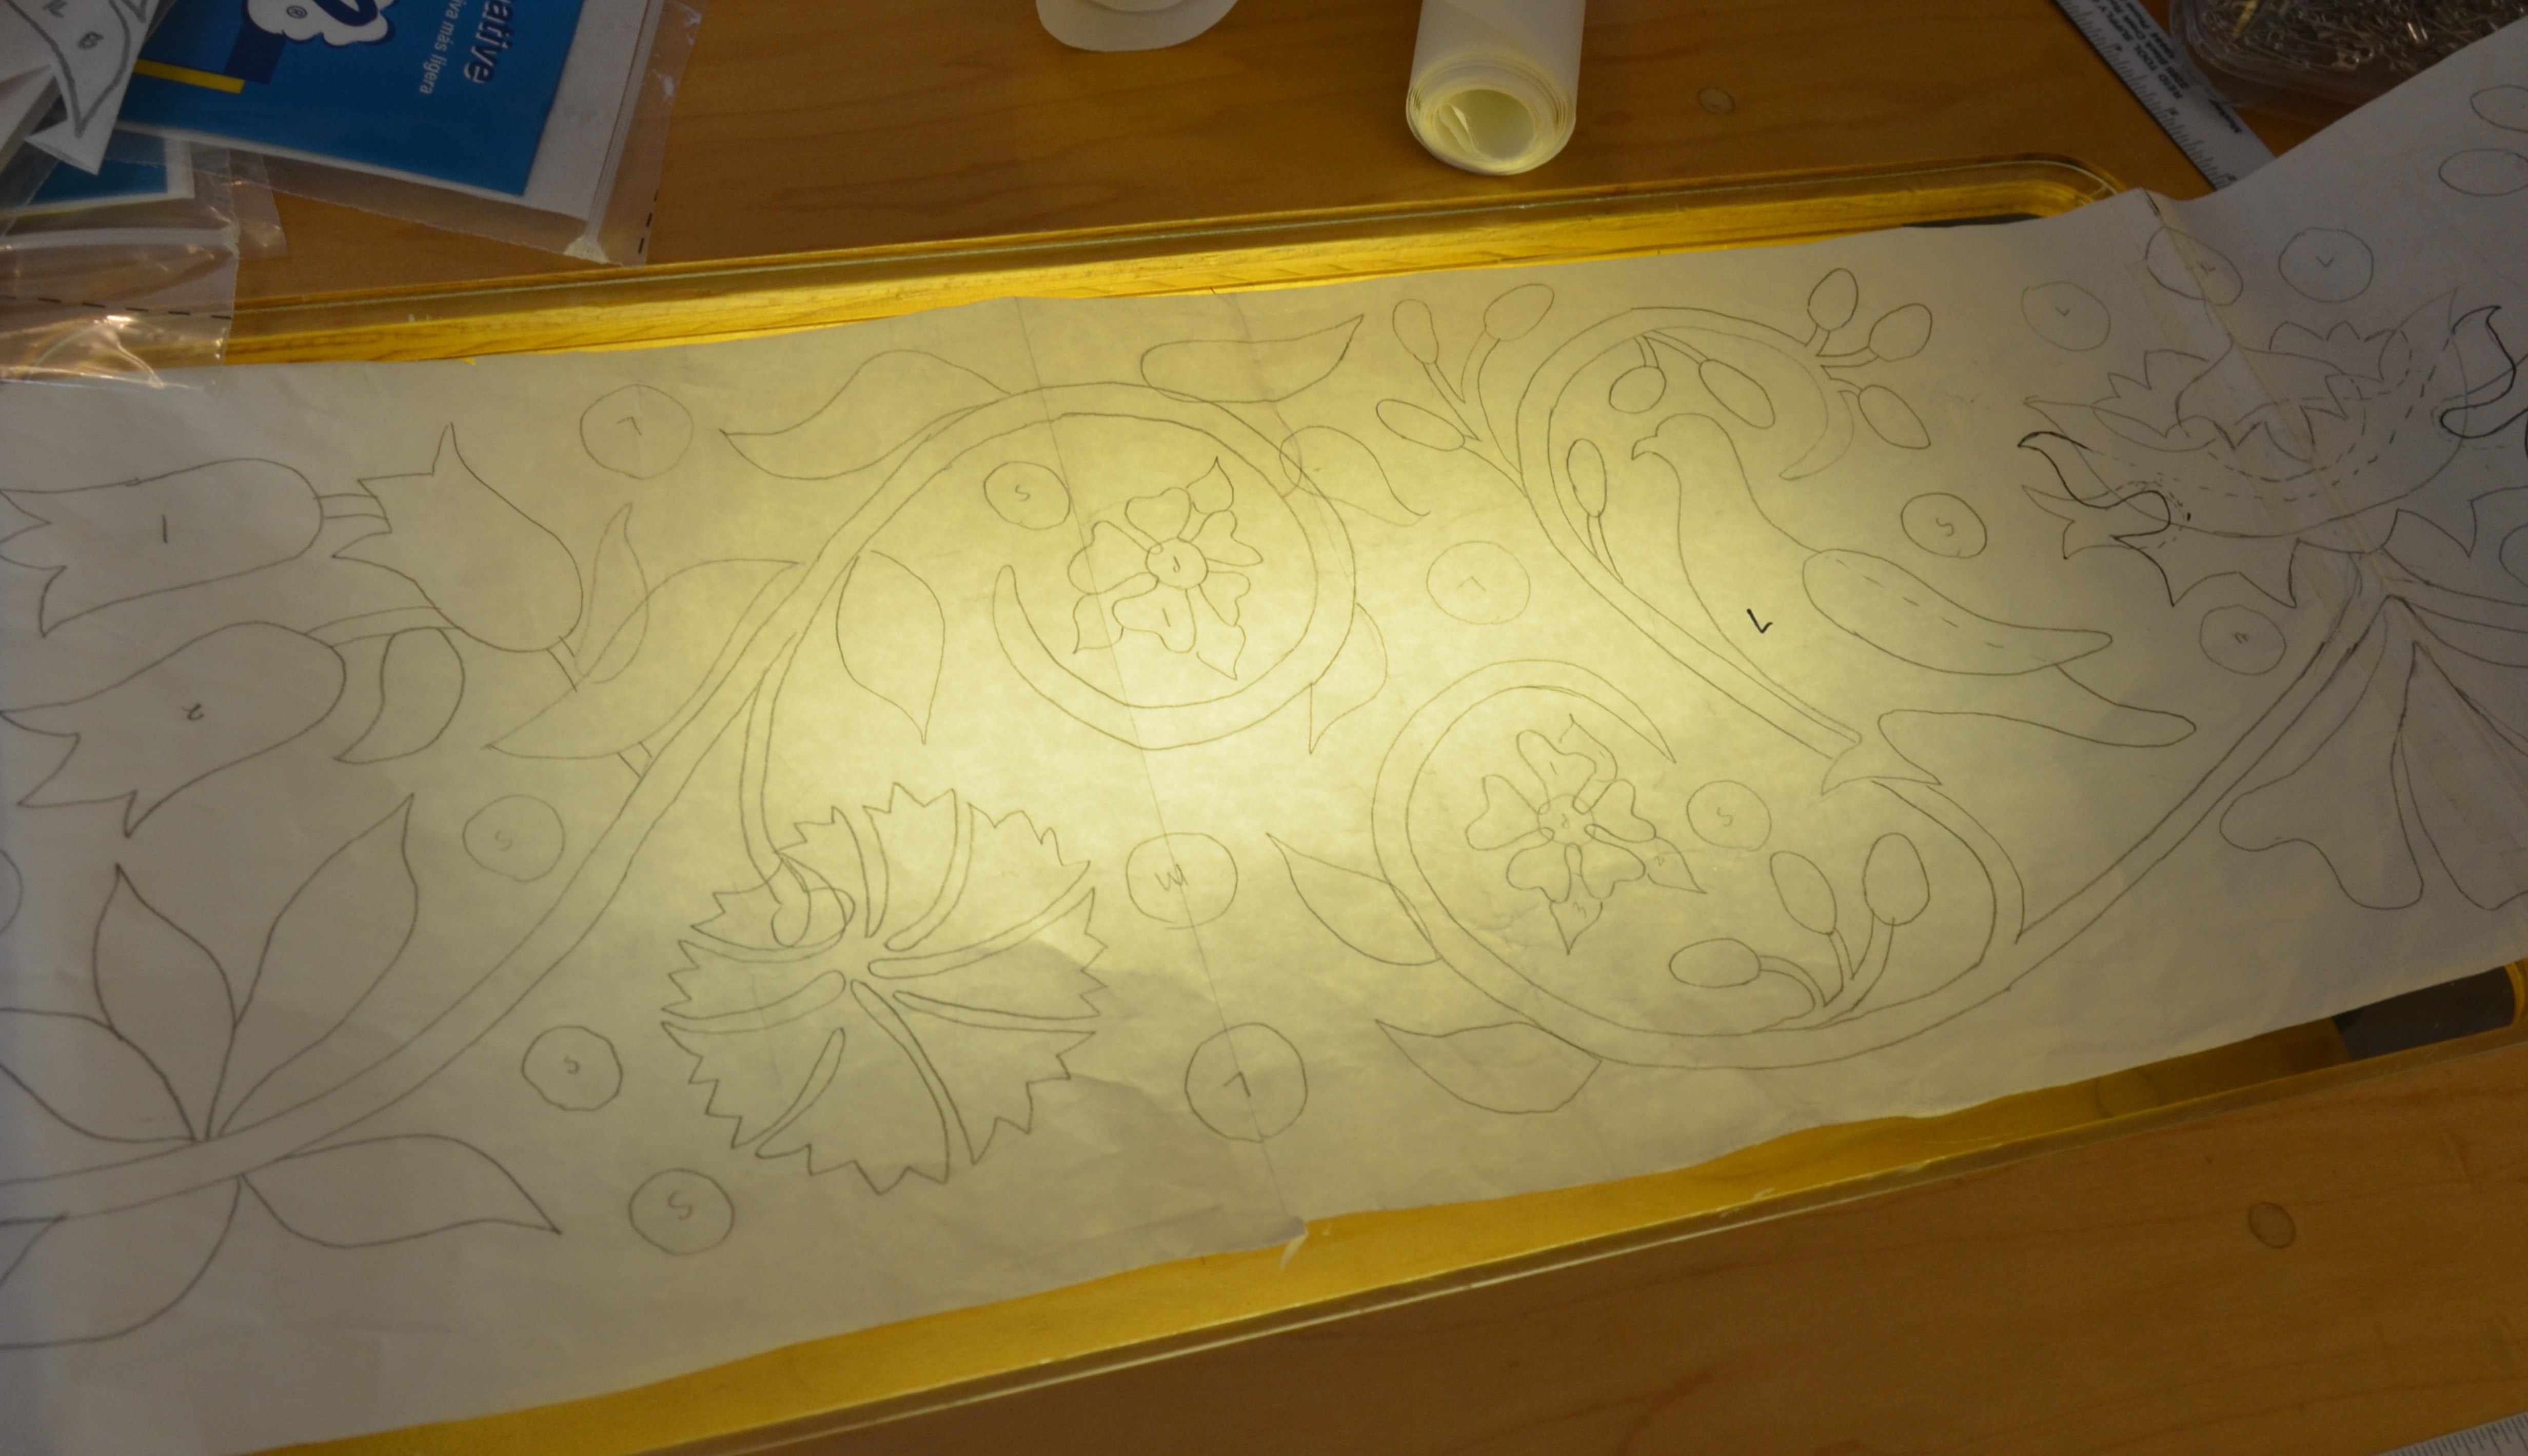
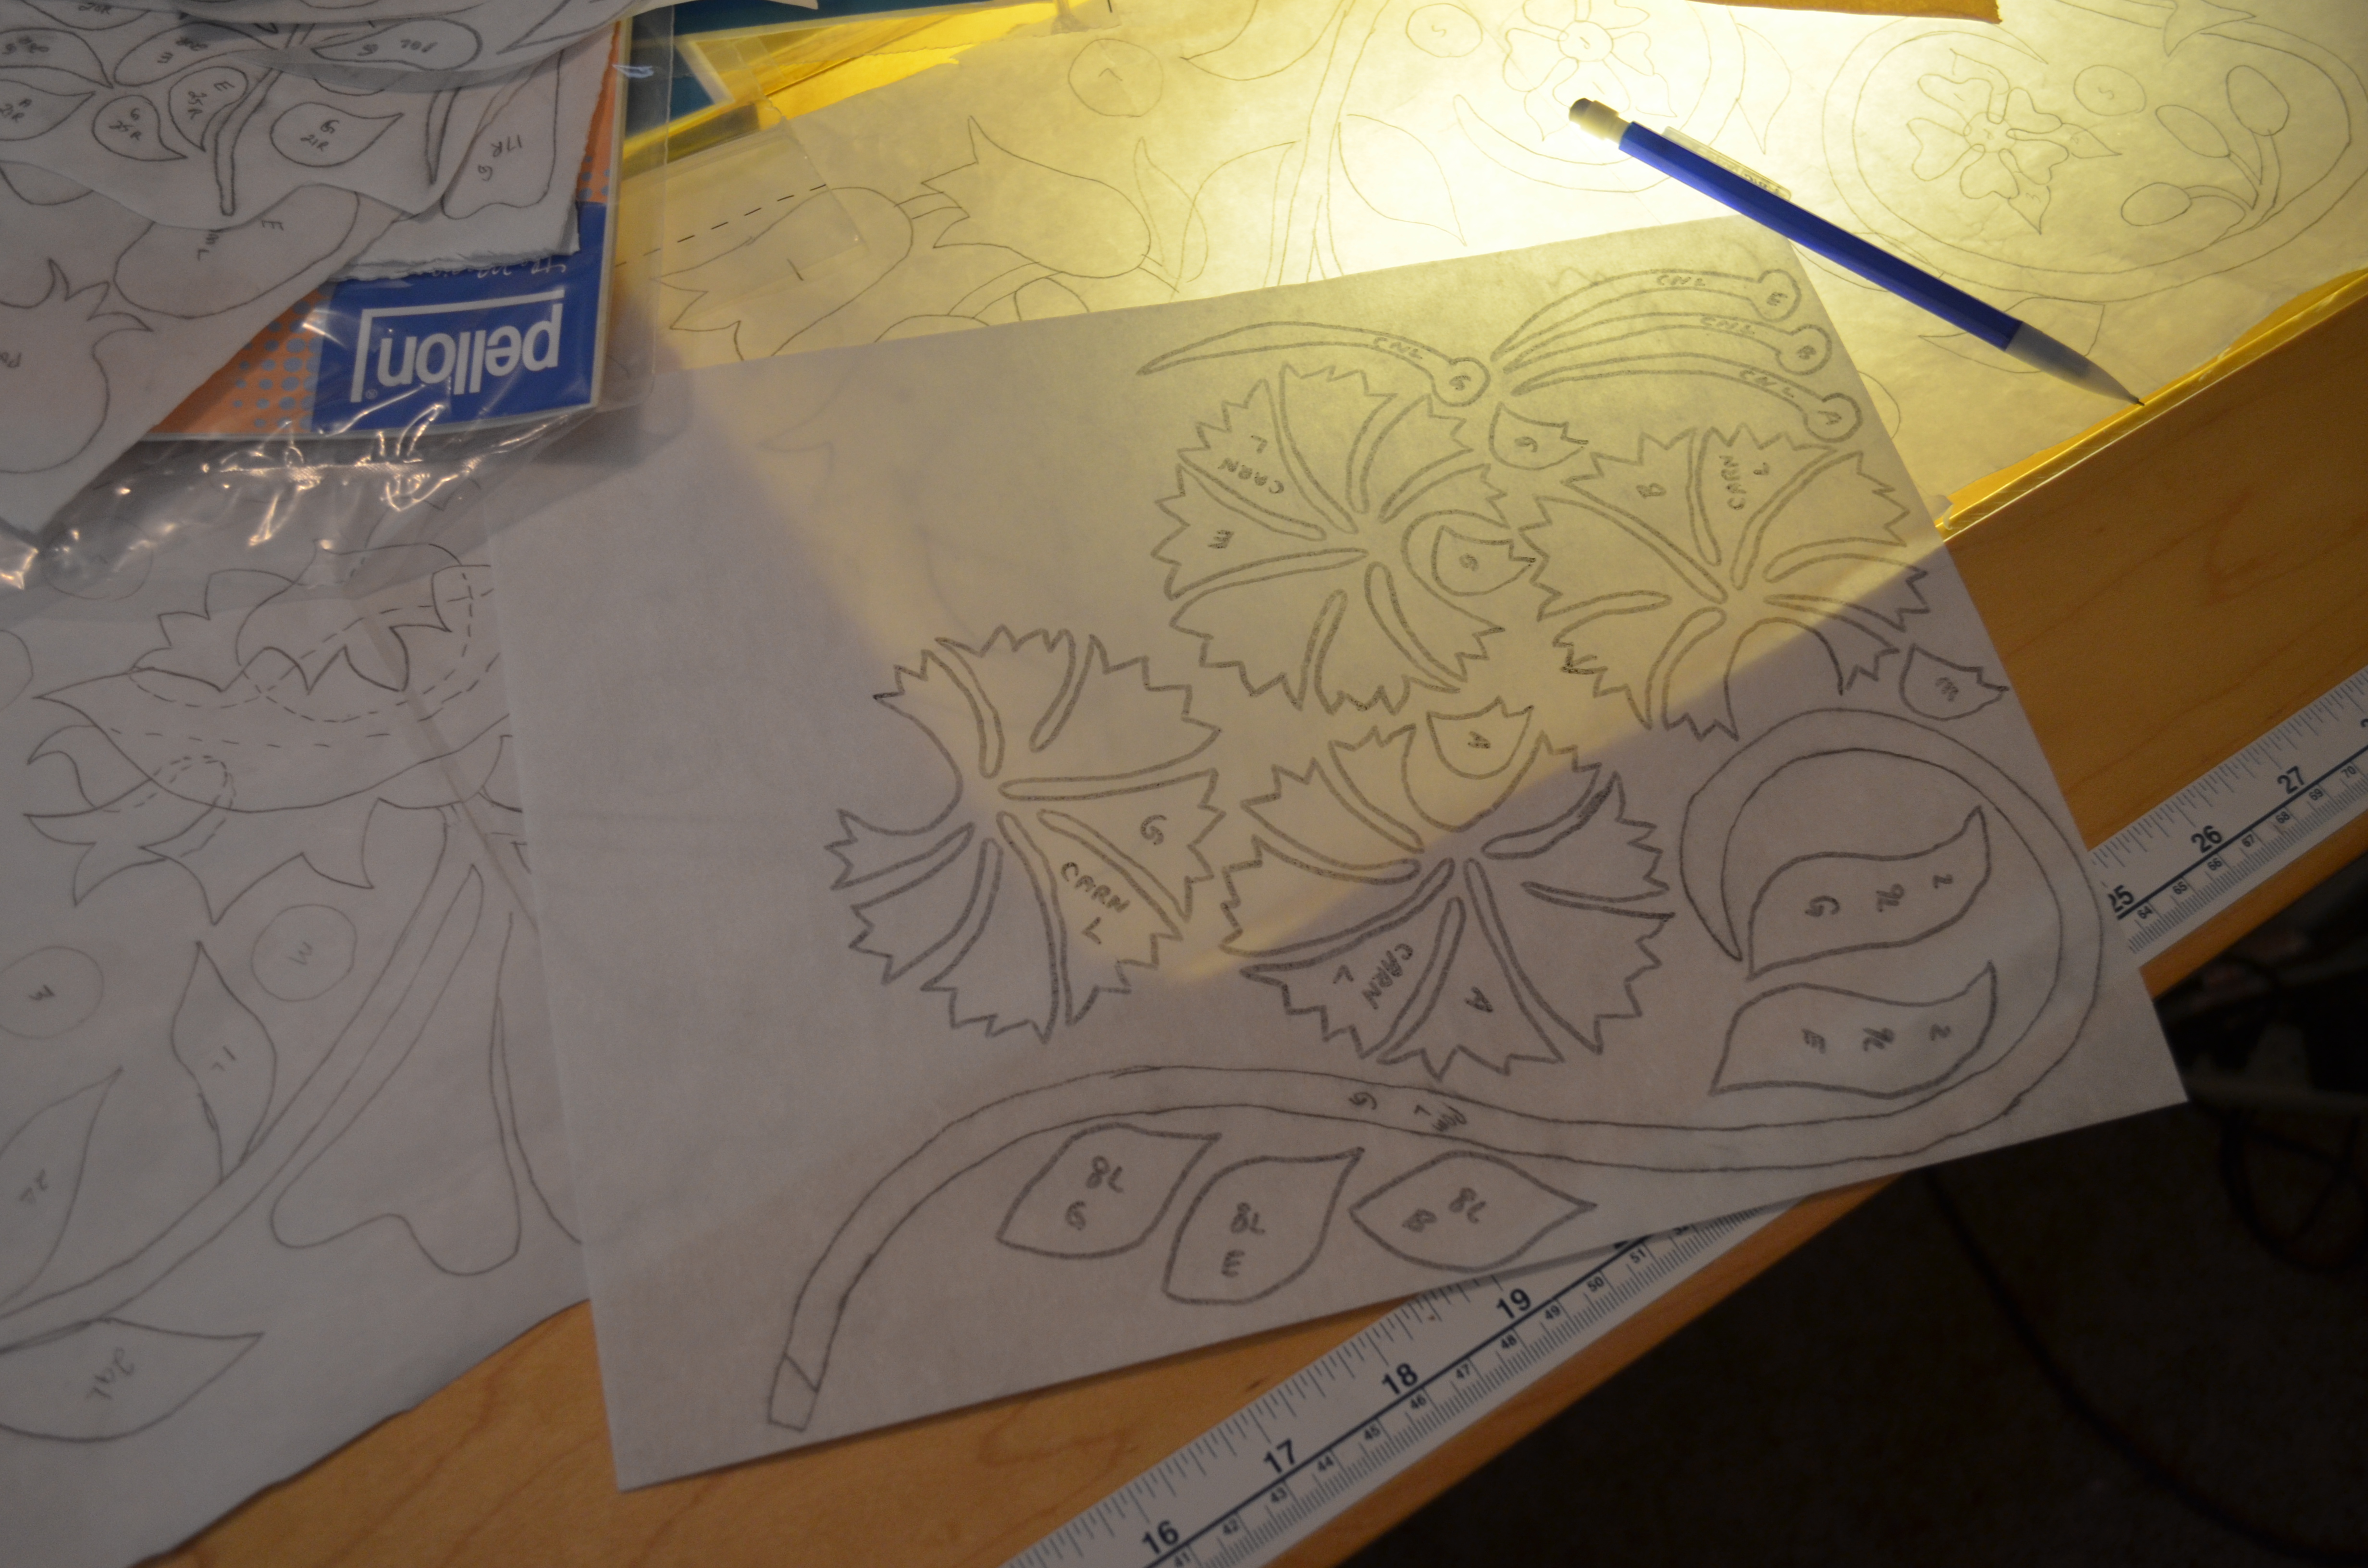
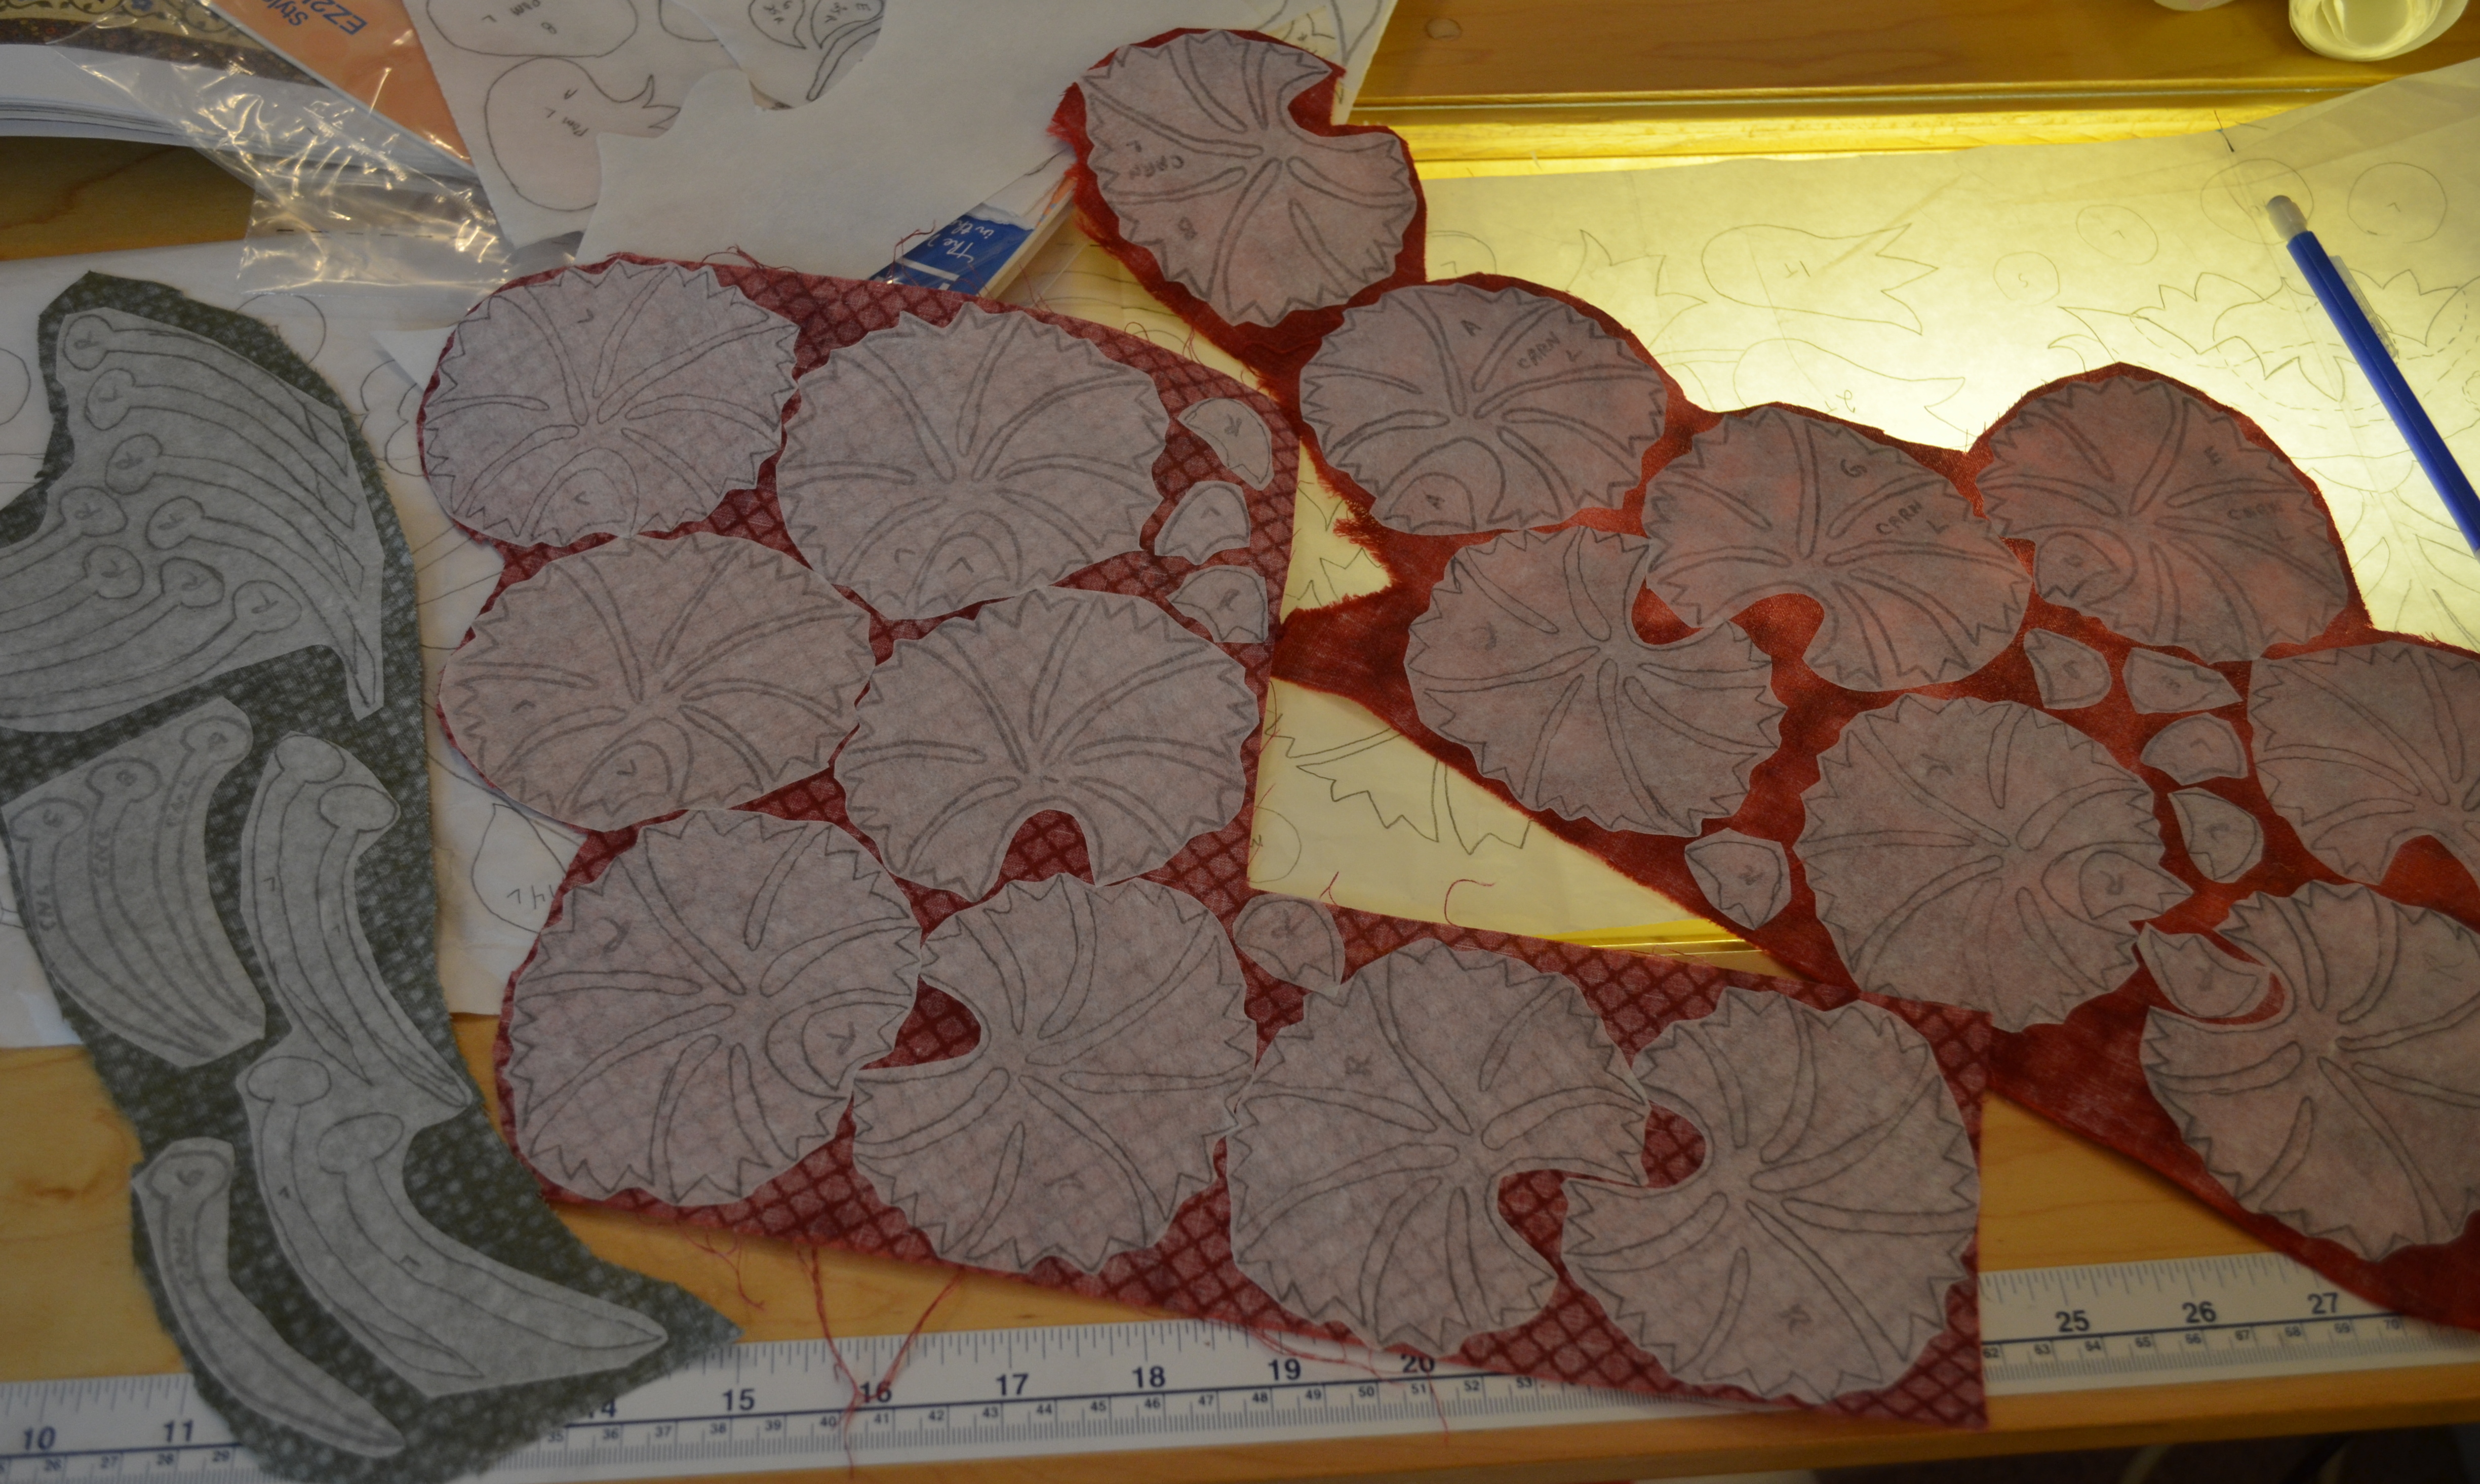
This quilt was started when we began taking Haley for radiation and physical therapy following her diagnosis of a stage 4 malignant brain tumor in November of 2018. Appliquing the blocks gave me peace while I prayed for a cure, a healing, a full recovery, and then for more time. Alas she passed away one week before her 21st birthday, almost three years after her initial diagnosis. The pattern I used was taken from Sue Garman’s “Sarah’s Revival.” Quickly it became “Haley’s Revival.” I did do some altering of the pattern to make it a larger 98″x98″ size. The applique was completed before her death, but the piecing of the blocks, sashing and borders were finished three months after. With much love and sadness, the hand quilting began on January 28, 2022, taking 487.5 peaceful and therapeutic hours, and was finished 10 months later on November 26, 2022. In white thread I stitched her name inconspicuously with birth date and death date. The label on the back is a pocket and is filled with a written page of her story and a couple of photographs. The completion was truly a help in my grief recovery. We miss her with every breath we take.

And then I began the design and creation of the angel wings in celebration of her life and beautiful memories made with all of us.

Amities, Averyclaire

Advertisement

Border Progress

Happy Easter Week to everyone!    Here are my Easter finishes. They were all fun and easy to make.

Easter 2014

Yes…the border is coming along. I am going to post some time lapse photos so you can see the progress. I have the center sections and the left sides complete. Here is the progress to date beginning with the photo I took initially:

DSC_0040

Border 2a

Border 2

Center sections of borders complete.

Border 3

Left side sections of borders complete.

Border 4

It sure has been a long tedious process…but I feel it will be done soon. The right sides remain. Although, I do have all the pieces traced and ironed onto fusible…just waiting to cut out…so that will go quickly. After I fuse the right side appliques down, I can do the four corners…not difficult after all the work I have already done. Then the appliques must be sewn in place.

Alas, with these borders taking up all my time, I have done no other handiwork. :((

Hope everyone out there is enjoying the lovely spring days we are having! And for those of you living far far away, I imagine you will begin having your cool crisp autumn days to enjoy!

Amities, Averyclaire

Designing A Border

I have had a king size triple irish chain quilt top made for a LONG time. I never finished it because I wanted to design a border for it.  Well I am tackling another UFO and am designing the border.  Here is my method and progress to date.

First, I taped a LOT of freezer paper together making a strip 95 inches long which matches the four sides of my quilt top.  The border is 9 inches wide.   I drew a design on one half of my freezer paper. Then I traced it in reverse on the other half. I now have one entire border to work with. Some of the flowers I used from the William Morris Applique book and some I drew. I drew all of the vines myself.  It was drawn with a mechanical lead pencil allowing for LOTS of mistakes.   Here are some photos.

Center of Border

DSC_0029

DSC_0027

DSC_0025-001

[Nothing like a million little pieces, huh?] This design will be the corner block, matching up to the long side borders.

DSC_0030

My DH cut me a piece of plexiglass to fit into the opening where I normally have my sewing machine.  [He is such a nice guy!]  I put a small florescent light under it to use as a light table.

DSC_0032

Using “Steam-A-Seam-Lite” I traced my designs onto fusible web.  [LOTS of tracing going on for four borders!]

DSC_0037

Now my fusible web pieces are ironed onto the wrong side of my fabric ready to cut out. [Whew…cutting out takes forever!]

DSC_0038

I have a design wall in my sewing room made of thick insulation which is covered with white flannel and screwed to the wall.    My four cream colored  borders have been pinned to the wall behind where I am working.  (They are not pink!…must have been the sunshine!)  I divided the border into fourths and marked each border with a water soluble pen.  Working from the center out I am placing my pieces onto the border.  I can actually use my Clover mini iron to affix my pieces right on the wall before taking it to the ironing board.  When I have finished the center sections of each border, I will re-pin and do the remaining sections of each border.   After fusing the borders, I plan to sew my appliques down with a small blanket stitch before sewing the borders onto the quilt.

DSC_0040

I don’t have any of the leaves or small fabric circles done yet…but I am making good progress with my UFO.  When it is completed, it will be hand quilted.

It is a BIG project….[perhaps I am nuts?!]   But the end is in sight for my LONG AWAITED quilt.

Amities, Averyclaire