Zippered Bag

This past year and already into the new year I have been busy teaching French Boutis classes and designing new patterns. I also have done several quilt trunk shows for quilt groups.

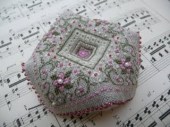
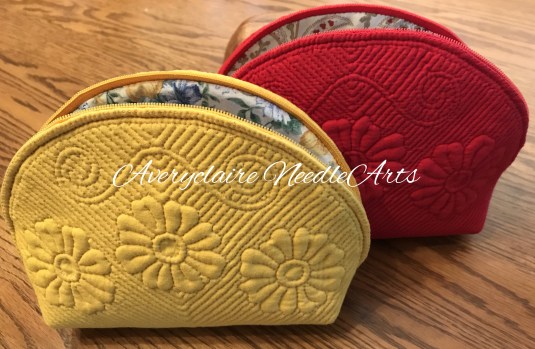
After many months my new French Boutis Zippered Bag pattern is published on Etsy as a complete kit and as a PDF downloadable pattern. The small bag when completed measures about 5 x 7.5 inches. It has a 12 inch zipper and is lined with beautiful fabric.

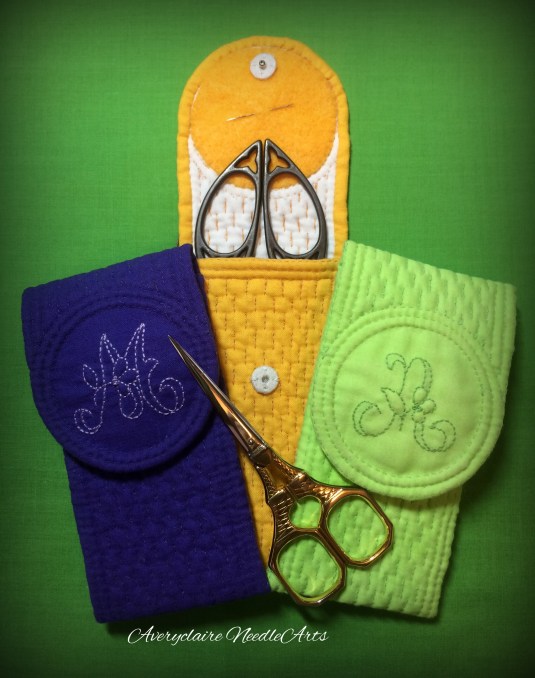
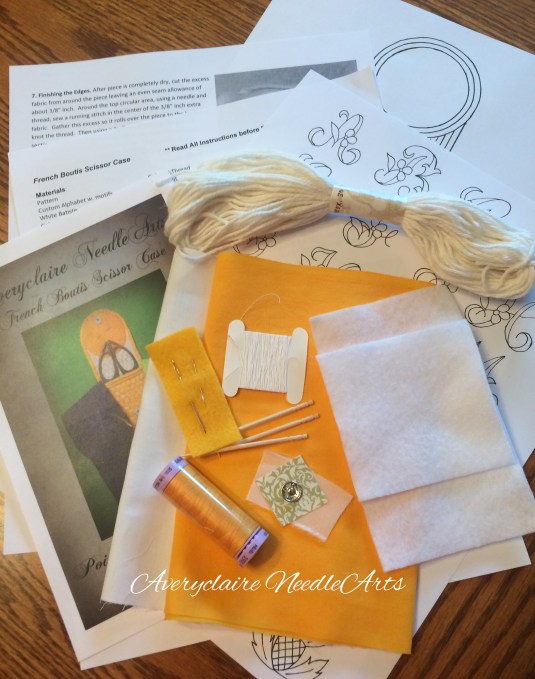
Once again French Boutis is an ancient art. Simply done, two pieces of special fabric are sewn together with a small running stitch (quilting stitch) on drawn pattern lines. Then a double strand of Boutis yarn is drawn through the channels from the reverse side giving the piece a raised relief. (Similar to trapunto but has no batting.) Traditional Boutis is done on white batiste fabric. However, I have fallen in love with the Provencal bright colors. Hence my colorful kits.

IMG_1370

IMG_1376

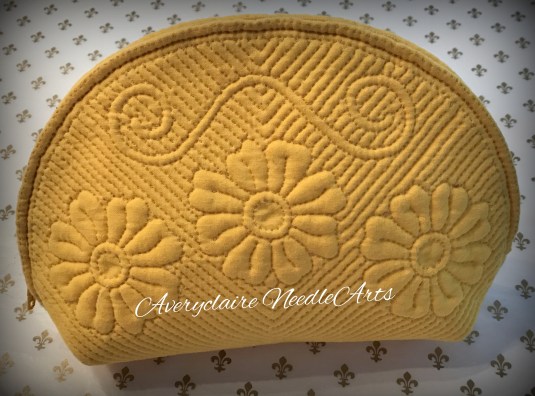
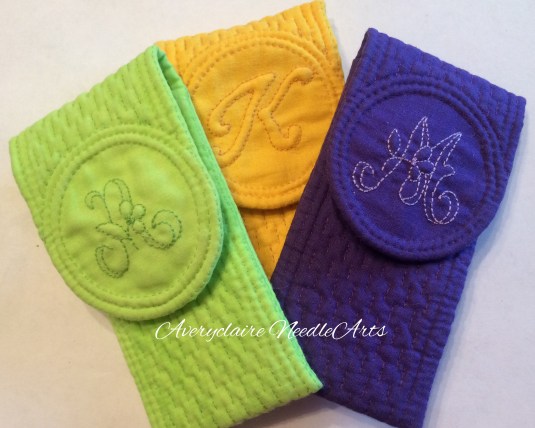
Luscious Provencal colors are available with the kit including beautiful lining fabrics. The fabric is 100% pima cotton and the linings are carefully chosen 100% cotton quilting fabrics.

For those not interested in a kit, the pattern and instructions are available in PDF downloadable form. However, the pattern must be enlarged 129% from 8-1/2 x 11 inch paper to 11 x 17 inch paper. It was reduced for ease in printing. A full size pattern is included in the kit.

IMG_1313

Alas there has not been much time left for my other interests such as stitching. I hope this year allows more time and better health!

Please visit me on Etsy or Instagram at “Averyclaire222“.

Amities, Averyclaire

French Boutis Scissor Case

French Boutis is an ancient form of French quilted needlework. Traditionally it is all white on white, but I adore the bright Provencal colors and created this SCISSOR CASE to entice people to learn this art. It is done with a small running stitch and a back stitch on two pieces of batiste, then yarn is drawn through the channels to give it a raised relief. I am working VERY hard to bring this art to the USA. I teach classes for a minimal fee and sell beginner kits on my ETSY AVERYCLAIRE page. The kit is available in a variety of colors (8 different colors) and includes everything you need to complete one scissor case. Please tell your quilting and needlework groups!

UPDATE:  This pattern calls for a silk covered snap. I have provided the materials in the kit, but I put the tutorial at the top of this page for all to use.

IMG_5062IMG_5133IMG_5137IMG_5141

Designing A Border

I have had a king size triple irish chain quilt top made for a LONG time. I never finished it because I wanted to design a border for it.  Well I am tackling another UFO and am designing the border.  Here is my method and progress to date.

First, I taped a LOT of freezer paper together making a strip 95 inches long which matches the four sides of my quilt top.  The border is 9 inches wide.   I drew a design on one half of my freezer paper. Then I traced it in reverse on the other half. I now have one entire border to work with. Some of the flowers I used from the William Morris Applique book and some I drew. I drew all of the vines myself.  It was drawn with a mechanical lead pencil allowing for LOTS of mistakes.   Here are some photos.

Center of Border

DSC_0029

DSC_0027

DSC_0025-001

[Nothing like a million little pieces, huh?] This design will be the corner block, matching up to the long side borders.

DSC_0030

My DH cut me a piece of plexiglass to fit into the opening where I normally have my sewing machine.  [He is such a nice guy!]  I put a small florescent light under it to use as a light table.

DSC_0032

Using “Steam-A-Seam-Lite” I traced my designs onto fusible web.  [LOTS of tracing going on for four borders!]

DSC_0037

Now my fusible web pieces are ironed onto the wrong side of my fabric ready to cut out. [Whew…cutting out takes forever!]

DSC_0038

I have a design wall in my sewing room made of thick insulation which is covered with white flannel and screwed to the wall.    My four cream colored  borders have been pinned to the wall behind where I am working.  (They are not pink!…must have been the sunshine!)  I divided the border into fourths and marked each border with a water soluble pen.  Working from the center out I am placing my pieces onto the border.  I can actually use my Clover mini iron to affix my pieces right on the wall before taking it to the ironing board.  When I have finished the center sections of each border, I will re-pin and do the remaining sections of each border.   After fusing the borders, I plan to sew my appliques down with a small blanket stitch before sewing the borders onto the quilt.

DSC_0040

I don’t have any of the leaves or small fabric circles done yet…but I am making good progress with my UFO.  When it is completed, it will be hand quilted.

It is a BIG project….[perhaps I am nuts?!]   But the end is in sight for my LONG AWAITED quilt.

Amities, Averyclaire